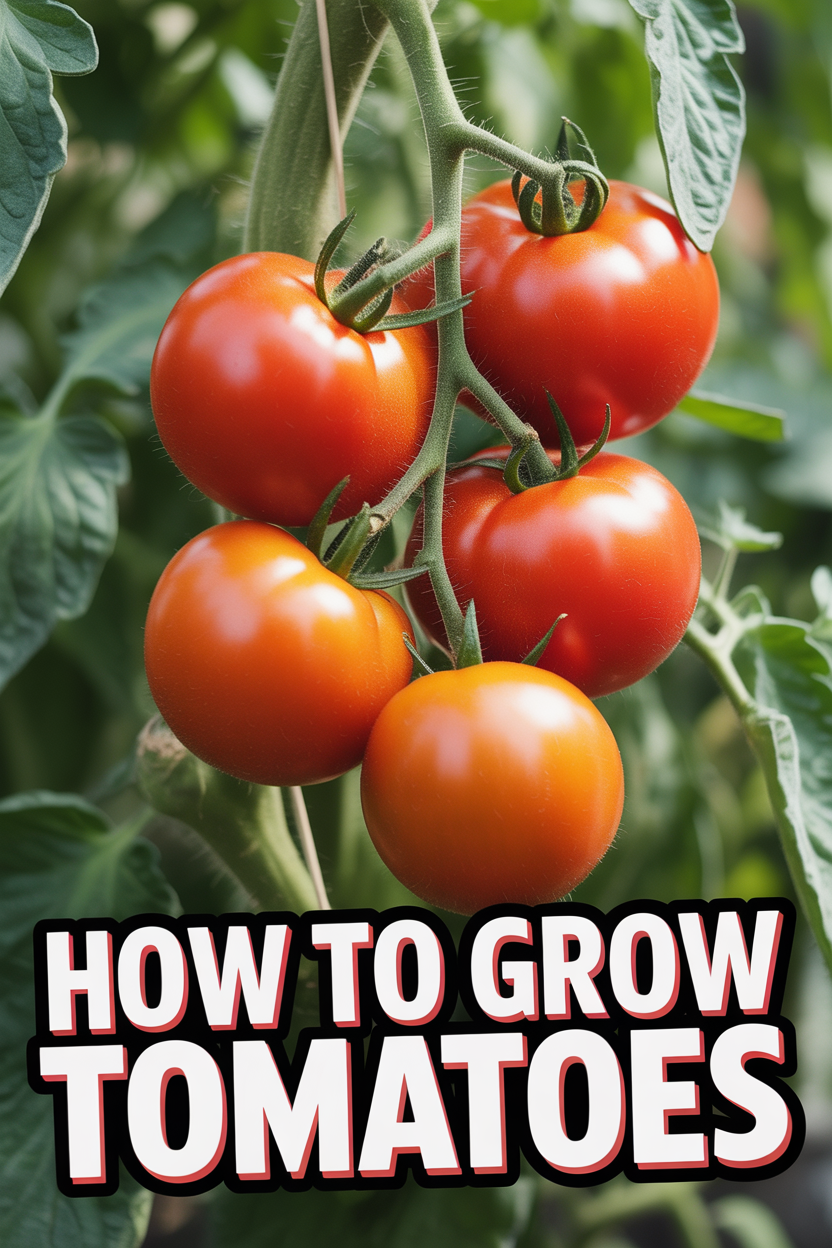
🍅 How To Grow Tomatoes
👩🌾 The Master Gardener's Starter Kit
Having a healthy, thriving garden is ten times easier when you aren't fighting with cheap tools. These are the 5 rugged, reliable gardening essentials that experienced landscapers and passionate home gardeners swear by to save time, protect their joints, and get better yields.
✂️ Felco F-2 Classic Manual Pruners
The legendary "buy it for life" pruning shears. Cheap pruners crush stems and spread disease, but these Swiss-made, razor-sharp bypass pruners slice cleanly through thick branches and rose bushes effortlessly. Every single part is replaceable, making it a true lifetime investment.
💧 XLUX Soil Moisture Meter
Overwatering is the number one reason plants die. This simple, battery-free probe completely removes the guesswork from your watering schedule. Just stick it in the soil at root level to instantly know exactly when your veggies, flowers, or houseplants are actually thirsty.
🐍 Flexzilla Heavy Duty Garden Hose
Stop wrestling with stiff, heavy rubber hoses that pinch and cut off water flow. This incredibly lightweight, high-visibility green hose lays completely flat, never kinks under pressure, and is surprisingly easy to coil back up—even in freezing weather.
🧘♀️ Extra Thick High-Density Kneeling Pad
Gardening shouldn't mean suffering joint pain for three days afterward. This ultra-thick, water-resistant foam pad absorbs rocks, roots, and uneven ground, protecting your knees whether you're pulling weeds for five minutes or planting bulbs all afternoon.
🧤 Pine Tree Tools Bamboo Garden Gloves
Finally, a glove that protects hands without making you lose your dexterity. These breathable bamboo-fiber gloves fit like a second skin, allowing you to handle delicate seedlings or grip muddy tools securely while keeping dirt from packing under your fingernails.
Imagine stepping out into your backyard, the morning sun warming your skin, and plucking a perfectly ripe, sun-kissed tomato directly from the vine. Its vibrant color and intoxicating aroma promise a burst of fresh flavor that no store-bought alternative can match. Growing your own tomatoes isn’t just about cultivating a plant; it’s about nurturing a piece of nature, transforming your outdoor space into a thriving, beautiful oasis, and experiencing the profound joy of farm-to-table living right on your patio or in your garden bed. It’s a journey that culminates in delicious rewards, enriching your home with beauty and bounty.

Quick Overview
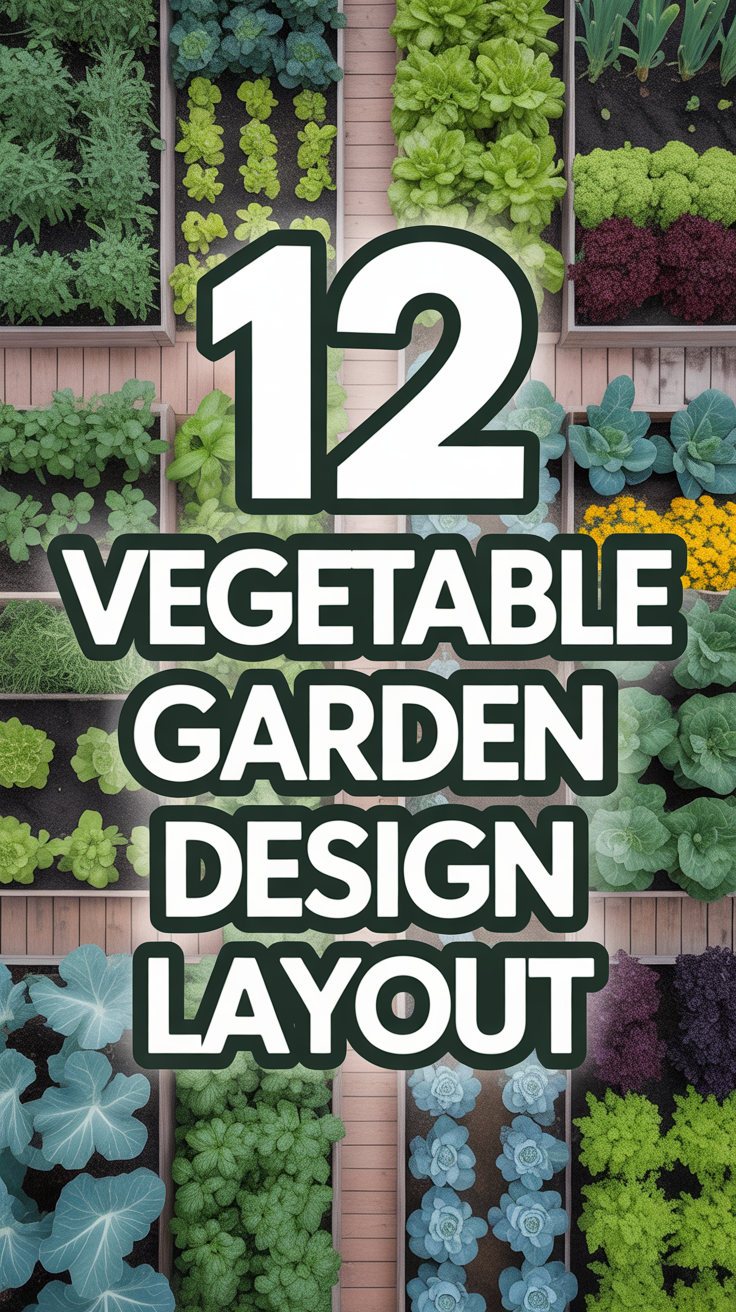
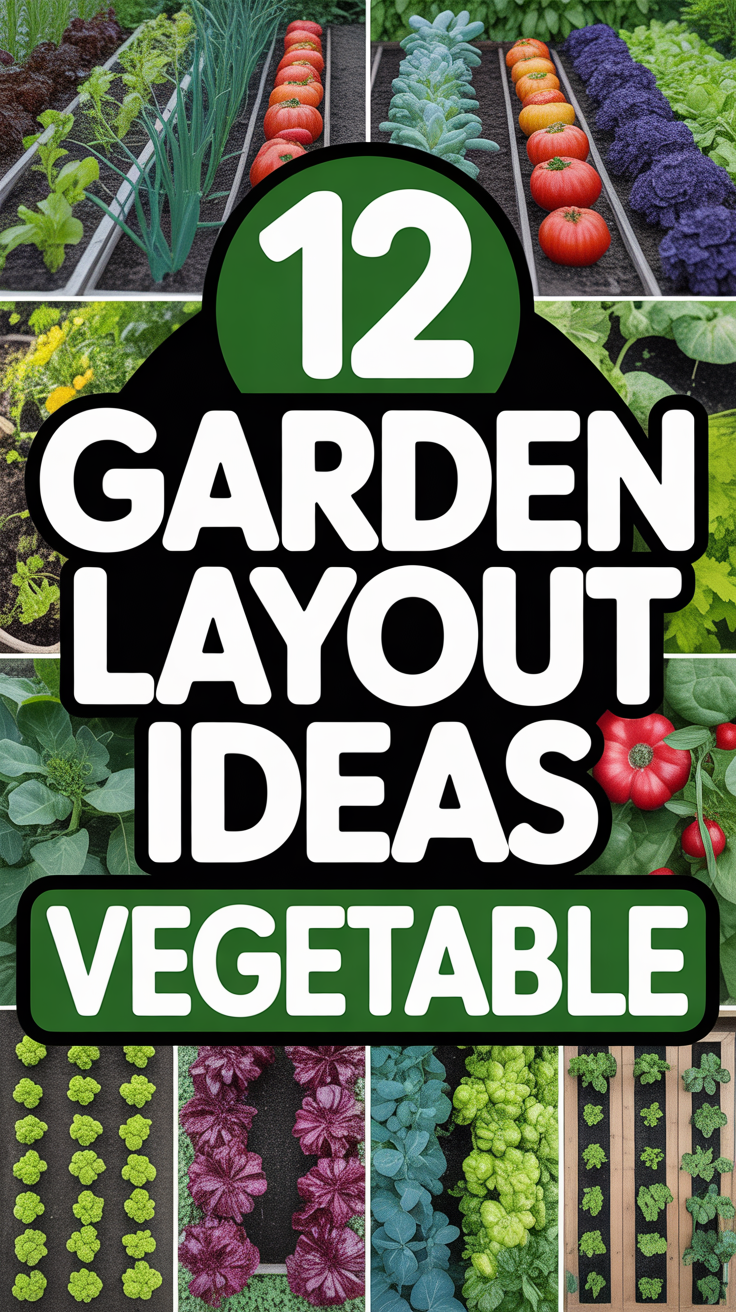
This guide will walk you through everything you need to know to cultivate a successful, abundant tomato harvest, transforming your garden into a picturesque, productive haven. We’ll cover selecting the right varieties, preparing your soil, planting with care, providing essential support, and nurturing your plants to fruition, all while integrating them seamlessly into your existing landscaping for that coveted Pinterest-worthy appeal.
Time needed: Initial setup takes a few hours; then, consistent weekly care (watering, fertilizing, pruning) of 1-3 hours per week throughout the growing season.
Difficulty: Beginner
What you’ll need: Tomato seeds or starter plants, rich potting mix or garden soil, appropriate containers or garden bed space, ample sunlight, water, fertilizer, stakes or cages, and a passion for homegrown goodness!
Step-by-Step Instructions
Step 1: Choose Your Tomato Adventure – Varieties & Vision
The first thrilling step in your tomato-growing journey is deciding which delectable varieties will grace your garden. This choice sets the stage for your harvest and influences how you integrate these plants into your outdoor living space. Do you dream of plump, juicy Beefsteaks for slicing, sweet Cherry tomatoes for snacking, or versatile Romas for sauces?
Tomatoes come in two main growth habits:
- Determinate: These “bush” varieties grow to a specific height, produce their fruit all at once, and then decline. They are excellent for container gardening, small spaces, or if you want a large harvest for canning. Their compact nature makes them easy to manage and perfect for adorning a sunny patio or a small balcony garden.
- Indeterminate: These “vining” varieties grow and produce fruit continuously until frost. They can reach impressive heights, often requiring substantial support, and are ideal for larger garden beds where they can become a lush, green focal point. Their sprawling beauty can be trained up trellises, creating a stunning vertical element in your landscape.
Beyond growth habit, consider the fruit type:
- Cherry & Grape Tomatoes: Small, sweet, and perfect for snacking, salads, or adding a pop of color to a vibrant container display.
- Roma & Paste Tomatoes: Meaty with fewer seeds, ideal for sauces, canning, and drying. Their elongated shape adds visual interest to a vegetable patch.
- Slicing & Beefsteak Tomatoes: Large, juicy, and perfect for sandwiches, burgers, and fresh eating. Varieties like ‘Brandywine’ or ‘Celebrity’ can be truly show-stopping.
You’ll also encounter Heirloom varieties (open-pollinated, often with unique flavors and colors, passed down through generations) and Hybrid varieties (bred for disease resistance, specific traits, and consistent yields). For beginners, disease-resistant hybrids can offer a more forgiving experience, while heirlooms provide a delightful taste of history.
Pro tip: Start with 2-3 different varieties to discover what you love most and what thrives best in your specific microclimate. This experimentation adds a wonderful layer of discovery to your gardening adventure!
Step 2: Location, Location, Location – Sun’s The Key!
Tomatoes are true sun-worshippers, craving at least 6-8 hours of direct sunlight each day to produce abundant, flavorful fruit. Choosing the right spot is paramount, whether you’re dedicating a raised bed, integrating them into a vibrant flower bed, or nurturing them in charming containers on your backyard patio.
Spend a day observing your outdoor space. Where does the sun linger longest? Are there any areas that receive morning sun but are shaded in the afternoon, or vice versa? South-facing spots are often ideal. For container gardeners, this means strategically placing pots on a patio, deck, or balcony that basks in golden rays for the majority of the day.
When integrating tomatoes into your landscaping, consider them as more than just food producers. An indeterminate variety trained up an elegant obelisk trellis can become a stunning vertical accent, adding height and interest to a mixed border of flowers and edibles. Determinate varieties, with their bushier habit, can be tucked into the sunny corners of a cottage garden or line a pathway in sturdy, decorative pots. Imagine their lush green foliage complementing the vibrant hues of marigolds or zinnias planted nearby, creating a truly picturesque scene.
Pro tip: Avoid planting tomatoes too close to large trees or shrubs that might compete for water and nutrients, or cast too much shade as they grow. Remember, sunlight is the fuel for those delicious fruits!
Step 3: Prepare the Perfect Potion – Soil & Containers
The foundation of a thriving tomato plant lies beneath the surface, in the soil. Tomatoes are heavy feeders and flourish in rich, well-draining, slightly acidic to neutral soil (pH 6.0-6.8).
For in-ground garden beds:
Begin by enriching your soil with generous amounts of organic matter. Think of it as preparing a luxurious, nutrient-packed feast for your plants. Incorporate 2-4 inches of high-quality compost, aged manure, or other organic amendments into the top 6-12 inches of your existing garden soil. This improves drainage, aeration, and fertility, creating a dark, crumbly canvas for healthy root development. If your soil is heavy clay, organic matter will loosen it; if it’s sandy, it will help retain moisture and nutrients. A soil test can provide valuable insights into specific nutrient deficiencies and pH levels, guiding your amendments.
For container gardening:
This is an excellent option for small spaces, backyard patios, or if your in-ground soil isn’t ideal. Choose large containers – a minimum of a 5-gallon capacity for determinate varieties, and 10-20 gallons for indeterminate vining types. Larger pots offer more consistent moisture and nutrient availability, leading to healthier plants and more fruit. Opt for pots with good drainage holes. Fill them with a high-quality potting mix specifically formulated for vegetables or containers, which typically contains a blend of peat moss, perlite, and compost. Avoid using dense garden soil in pots, as it compacts easily and can hinder drainage. DIY enthusiasts might consider building simple raised beds from untreated lumber, which offer excellent control over soil quality and drainage, while also adding a charming, structured element to your garden design.
Pro tip: Before planting, gently moisten your chosen soil or potting mix. It should feel like a damp sponge – not soggy, but evenly hydrated. This ensures a welcoming environment for your young plants.
Step 4: Planting Your Precious Plants – The Big Day!
The moment has arrived to introduce your tomato plants to their new home! Timing is crucial here. Tomatoes are sensitive to cold and should only be planted after all danger of frost has passed in your area, and when soil temperatures consistently remain above 60°F (15°C). This typically means late spring to early summer in most temperate USDA zones. Check your local extension office or gardening resources for precise planting dates for your specific USDA zone.
If you’ve started seeds indoors or purchased young plants, they’ll need a period of “hardening off” before planting. This involves gradually acclimating them to outdoor conditions over 7-10 days by exposing them to increasing amounts of sun, wind, and cooler temperatures. This prevents transplant shock and ensures a strong start.
When planting:
1. Dig Deep: Tomatoes are unique in their ability to grow roots from their stems. Dig a hole deep enough to bury about two-thirds of the plant’s stem, removing any lower leaves that would be below the soil line. This encourages a robust root system, leading to a stronger, more resilient plant.
2. Gentle Placement: Carefully remove the plant from its container, gently loosening any circling roots. Place it in the hole, ensuring it’s upright.
3. Backfill & Water: Backfill the hole with your prepared soil, gently firming it around the base of the plant to remove air pockets. Water thoroughly immediately after planting to help settle the soil and reduce transplant stress.
4. Spacing: Provide ample space between plants to ensure good air circulation and reduce disease risk. For indeterminate varieties, aim for 2-3 feet between plants; determinate types can be slightly closer at 1.5-2 feet. This also allows room for their lush foliage to develop, creating a verdant display.
Pro tip: If planting in containers on your patio, consider grouping pots of various sizes and plants (herbs, marigolds) around your tomato plants to create a visually appealing, layered look, enhancing the “Pinterest-worthy” aesthetic.
Step 5: Support Their Soaring Spirit – Staking & Caging
As your tomato plants begin their rapid growth, they’ll quickly become top-heavy with foliage and fruit. Providing sturdy support is absolutely essential, especially for indeterminate varieties, to prevent sprawling, broken branches, and disease. It keeps fruit off the ground (reducing pest and rot issues) and ensures good air circulation.
There are several popular methods for supporting your plants:
- Tomato Cages: These wire structures encircle the plant, providing all-around support. Choose heavy-duty, tall cages, especially for indeterminate varieties, as flimsy ones can buckle under the weight of a mature plant. Place the cage over the plant at planting time to avoid damaging roots later.
- Stakes: Strong wooden or metal stakes (at least 6-8 feet tall for indeterminate types) are driven into the ground beside the plant. As the plant grows, tie the main stem loosely to the stake every 10-12 inches using soft ties (fabric strips, twine, or specific plant ties). This method offers excellent control over vertical growth.
- Trellises: For a truly aesthetic and organized garden, trellises are fantastic. You can use netting, hog wire, or even build a decorative wooden trellis. Train indeterminate vines to climb, weaving them through the structure. This not only supports the plant but also creates a beautiful vertical garden feature, perfect for enhancing a small space or adding architectural interest to a larger garden bed.
- DIY Supports: Get creative! Old ladders, rebar, or even sturdy branches can be repurposed into functional and charming supports, adding a rustic, DIY touch to your garden.
Pro tip: Install your chosen support system at the time of planting. Waiting until the plant is large and laden with fruit risks damaging its delicate root system and making the task much harder.
Step 6: Nurturing Your Green Gems – Watering & Feeding
Consistent care is the secret ingredient to a prolific tomato harvest. Your plants, like all living things, thrive on steady nourishment and hydration.
Watering: Tomatoes need consistent moisture, especially once fruit begins to set. Inconsistent watering is a leading cause of problems like blossom end rot.
- Frequency: Aim for deep watering 2-3 times a week, rather than shallow daily sprinkles. This encourages roots to grow deeper, making the plant more resilient.
- Method: Water at the base of the plant, directly onto the soil. Avoid overhead watering, which can encourage fungal diseases on the leaves. Soaker hoses or drip irrigation systems are excellent for efficient, targeted watering and are a great DIY project for any gardener looking to conserve water.
- Check Soil: Stick your finger about an inch or two into the soil. If it feels dry, it’s time to water. Container plants will typically dry out faster than in-ground plants and may need daily watering during hot, dry spells.
Feeding: Tomatoes are heavy feeders, requiring a steady supply of nutrients throughout their long growing season.
- Initial Boost: If you prepared your soil with plenty of compost, your plants will have a good start. About 2-3 weeks after planting, you can begin a feeding regimen.
- Fertilizer Type: Start with a balanced organic fertilizer (e.g., 5-5-5 or similar) or one specifically formulated for tomatoes. Once flowers appear and fruit begins to set, switch to a fertilizer lower in nitrogen and higher in phosphorus and potassium (e.g., 5-10-10 or 3-4-6). Nitrogen promotes leafy growth, while phosphorus and potassium are crucial for flower and fruit development.
- Application: Follow package directions carefully for dosage and frequency, typically every 2-4 weeks. Over-fertilizing can be as detrimental as under-fertilizing.
Mulching: Apply a 2-4 inch layer of organic mulch (straw, shredded leaves, wood chips) around the base of your plants. This helps retain soil moisture, suppresses weeds, regulates soil temperature, and provides a clean barrier between the soil and lower leaves, reducing the risk of soil-borne diseases. Mulch also gives your garden beds a tidy, finished look, enhancing their overall appeal.
Pro tip: Water your tomatoes in the morning. This allows any splashed water on the leaves to dry before nightfall, further reducing the risk of fungal diseases.
Step 7: Pruning for Peak Performance – Shaping Your Harvest
Pruning tomato plants, especially indeterminate varieties, is a crucial step for maximizing fruit production, improving air circulation, and maintaining a tidy, attractive plant. While determinate varieties generally require less pruning, a little strategic snipping can still benefit them.
The primary target for pruning is “suckers.” These are small shoots that emerge from the “crotch” or “axil” between the main stem and a leaf branch. If left to grow, suckers will develop into full branches, producing flowers and fruit. However, they compete with the main plant for energy, often resulting in smaller, later-ripening fruit, and creating a dense, leafy plant that’s prone to disease due to poor air circulation.
How to prune:
1. Identify Suckers: Look for the small shoots growing at a 45-degree angle in the “V” where a leaf branch meets the main stem.
2. Pinch or Cut: When suckers are small (2-4 inches), they can be easily pinched off with your fingers. For larger suckers, use clean, sharp pruners to make a clean cut close to the main stem.
3. Frequency: Check your plants for suckers every week or two during the growing season.
4. Lower Leaves: As the plant grows, you can also remove the lower leaves, especially those that touch the soil. This prevents soil-borne diseases from splashing onto the foliage and improves air circulation around the base of the plant.
5. “Topping” (for indeterminate varieties): Towards the end of the growing season (about a month before your first expected frost), you can “top” indeterminate plants by pinching off the main growing tip. This redirects the plant’s energy into ripening existing fruit rather than producing new flowers and leaves.
Pro tip: Always use clean, sharp tools for pruning to prevent the spread of diseases. If you’ve pruned a diseased plant, disinfect your tools with rubbing alcohol or a bleach solution before moving to the next plant.
Step 8: The Sweet Reward – Harvesting Your Bounty
This is the moment you’ve been dreaming of – the culmination of your care and dedication! Harvesting your own homegrown tomatoes is one of gardening’s most satisfying pleasures.
When to harvest:
Tomatoes are ready to pick when they have fully developed their color (red, orange, yellow, purple, or even striped, depending on the variety) and feel firm but slightly soft to the touch. Don’t rush the harvest; allowing them to fully ripen on the vine develops the richest, most complex flavors. They should easily detach from the stem.
How to harvest:
Gently twist the tomato off the vine. If it doesn’t come off easily, use clean pruners or scissors to snip the stem just above the fruit, leaving the green calyx (the leafy part at the top) attached. This helps the tomato store better. Check your plants daily once they start ripening, as a warm sunny day can bring a cascade of ready-to-pick fruit!
Storing your tomatoes:
The best place to store ripe, whole tomatoes is at room temperature on your counter, out of direct sunlight. Refrigeration can diminish their flavor and turn their texture mealy. If you have an abundance, consider canning, making sauces, drying, or sharing with lucky friends and neighbors. There’s nothing quite like a summer evening on the patio, enjoying a Caprese salad made with tomatoes you grew yourself!
Pro tip: If frost is imminent and you have green tomatoes left on the vine, you can pick them and bring them indoors. Store them in a paper bag with an apple or banana (which release ethylene gas) to encourage them to ripen. They may not achieve the same full flavor as vine-ripened ones, but they’ll still be delicious!
Common Mistakes to Avoid
1. Planting Too Early: Rushing to get plants in the ground before all danger of frost has passed or when soil temperatures are too low can stunt growth, cause transplant shock, or even kill your plants. Patience is a virtue in gardening!
Correct Approach: Wait until well after your average last frost date and ensure soil temperatures are consistently above 60°F (15°C).
2. Inconsistent Watering: Erratic watering (alternating between bone-dry and soaking wet) is a major culprit for issues like blossom end rot and fruit cracking.
Correct Approach: Establish a consistent watering schedule, providing deep, thorough watering at the base of the plant, especially during dry spells and when fruit is developing.
3. Lack of Support: Allowing tomato plants to sprawl on the ground leads to disease, pest problems, and damaged fruit.
Correct Approach: Install sturdy stakes, cages, or trellises at the time of planting, and regularly tie up or train indeterminate vines as they grow.
4. Ignoring Air Circulation: Overcrowded plants or dense, unpruned foliage creates a humid environment, a breeding ground for fungal diseases.
Correct Approach: Space plants adequately, prune suckers regularly, and remove lower leaves to ensure good airflow throughout the plant.
5. Poor Soil Preparation: Planting in nutrient-poor or compacted soil will result in weak plants and a meager harvest.
Correct Approach: Amend garden beds generously with compost and organic matter, or use high-quality potting mix for containers, ensuring well-draining, fertile soil.
Troubleshooting
Yellowing Leaves:
Issue: Often a sign of nutrient deficiency (especially nitrogen), overwatering, or compacted soil.
Solution: Check soil moisture; if soggy, improve drainage. Apply a balanced liquid fertilizer. Ensure good air circulation and consider a soil test.
Blossom End Rot (Dark, sunken spots on the bottom of the fruit):
Issue: Not a disease, but a physiological disorder caused by a calcium deficiency in the fruit, often due to inconsistent watering that prevents the plant from absorbing available calcium.
Solution: Ensure consistent, deep watering. Avoid large fluctuations in soil moisture. You can also try a foliar spray of calcium (though consistent watering is key).
Pests (Aphids, Tomato Hornworms):
Issue: Small green aphids cluster on new growth, sucking sap. Large, green hornworms can decimate foliage overnight.
* Solution: For aphids, spray with a strong stream of water or use insecticidal soap. Hand-pick hornworms (they blend in well!) and drop them into soapy water. Encourage beneficial insects like ladybugs.
Key Takeaways
- Sun and Soil are Supreme: Provide at least 6-8 hours of direct sun and rich, well-draining soil.
- Support is Essential: Stake, cage, or trellis your plants early for healthy growth and abundant fruit.
- Consistency is Key: Regular, deep watering and consistent feeding prevent common problems.
- Prune for Production: Remove suckers to direct energy into fruit development and improve air circulation.
- Enjoy the Process: From tiny seed to juicy fruit, embrace the journey of nurturing life in your garden.
Frequently Asked Questions
Q: Can I grow tomatoes in pots on my patio?
A: Absolutely! Container gardening is a fantastic way to grow tomatoes, especially determinate varieties, in small spaces. Just ensure your pots are large enough (minimum 5-gallon for determinate, 10-20 gallon for indeterminate) and have good drainage, filled with high-quality potting mix.
Q: When is the best time to plant tomatoes?
A: The ideal time is after all danger of frost has passed in your area and when soil temperatures are consistently above 60°F (15°C). This usually means late spring or early summer, depending on your USDA zone.
Q: Why are my tomatoes not turning red?
A: Several factors can delay ripening: too much nitrogen fertilizer (which promotes leafy growth over fruit), insufficient sunlight, cool temperatures (below 50°F / 10°C), or extreme heat (above 85°F / 29°C) which can temporarily halt ripening. Ensure adequate sun, balanced fertilizer, and consistent warmth.
Q: Do I need to prune my tomato plants?
A: For indeterminate (vining) varieties, pruning suckers is highly recommended to improve air circulation, prevent disease, and encourage larger, earlier fruits. Determinate (bush) varieties require less pruning, but removing lower leaves can still be beneficial for air circulation.
What’s Next?
Congratulations, you’re now equipped to embark on your delightful tomato-growing adventure! But why stop there? Your successful tomato harvest is just the beginning of transforming your outdoor space into a verdant paradise.
Consider expanding your edible garden by trying other sun-loving vegetables like bell peppers, eggplants, or a variety of fragrant herbs that can thrive alongside your tomatoes. Explore companion planting, where certain plants benefit each other (e.g., marigolds deter pests, basil enhances tomato flavor). Dive into the world of composting to create your own rich soil amendments, completing the natural cycle of growth.
Imagine your backyard patio adorned with not just thriving tomato plants, but also colorful flower beds bursting with pollinators, a charming herb spiral, or even a small, calming water feature. Your journey into gardening is an invitation to create a beautiful, productive, and serene outdoor living space that reflects your connection to nature. Pick up some seeds or starts today, roll up your sleeves, and watch your garden dreams blossom into a Pinterest-worthy reality!