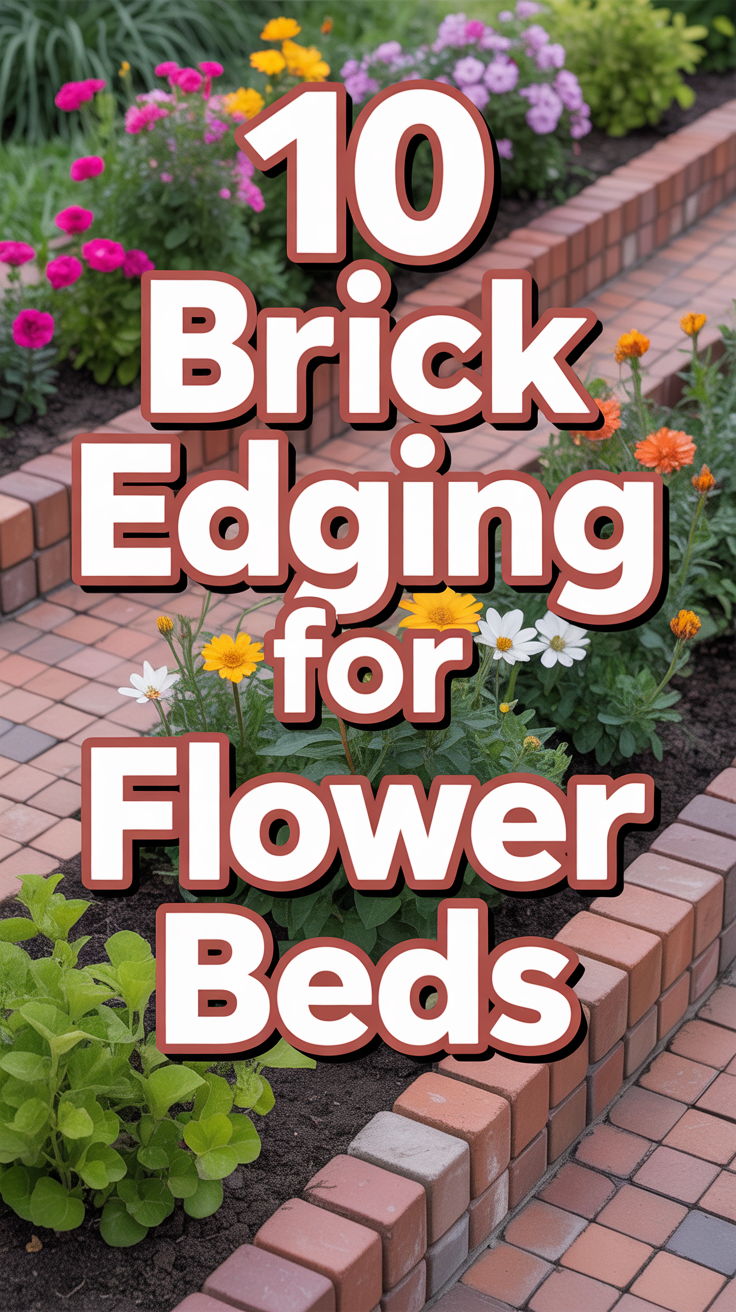
🧱 10 Brick Edging For Flower Beds
Okay, real talk. Your flower beds? They’re probably looking a bit… undefined. Like a very pretty, but slightly chaotic, thought. Enter brick edging, your garden’s new best friend. We’re not talking about some fussy, old-school vibe here. We’re talking about giving those blooms the stylish boundary they deserve, without trying too hard. Get ready to level up your curb appeal, friend.

1. The Classic Soldier Course
Want to make an impact without doing too much? Standing your bricks on their end, like little terracotta soldiers, creates an instant statement. It offers a strong, defined line that screams ‘I know what I’m doing in the garden, thank you very much.’ This look is super effective for both straight and gently curving beds, providing a sturdy barrier against encroaching grass. Pro tip: Bury them about a third of the way down for stability; nobody wants a wobbly soldier. It just works because it’s timeless, strong, and makes your flowers pop against a clean backdrop.
2. Elegant Running Bond
This is your go-to for a clean, understated look. Laying bricks flat, end-to-end, with each row overlapping the joints of the one below it, creates a seamless and sophisticated border. It’s the brick equivalent of a perfectly tailored suit. This pattern is fantastic for keeping mulch in and grass out, offering a smooth surface that’s easy to mow around. Pro tip: Use a string line to keep things perfectly straight; a crooked running bond is just sad. This design is a winner for its simplicity and effective containment.
3. Rustic Herringbone Charm
Feeling a bit fancy but still want that cozy vibe? The herringbone pattern involves laying bricks at a 45-degree angle to create a beautiful, interlocking “V” shape. It’s undeniably eye-catching and adds a serious dose of texture to your garden. This pattern is incredibly strong and stable, making it ideal for high-traffic areas or where you need extra durability. Pro tip: Start from the center and work your way out for symmetrical perfection. It works because it’s visually dynamic and surprisingly robust.
4. Subtle Sawtooth Edge
For a softer, more cottage-core aesthetic, the sawtooth edge is your secret weapon. You achieve this by setting bricks on their ends, but angled slightly forward or backward, creating a gentle zig-zag. It’s less rigid than the soldier course but still offers definition. This style is perfect for framing informal planting schemes and adding a touch of whimsical flair. Pro tip: Keep your angles consistent for that charming, uniform look. It works because it adds character without being overly formal.
5. Double Stacked Border
Why have one layer when you can have two? Stacking bricks two high, either in a running bond or alternating patterns, gives your flower beds extra height and presence. This is brilliant for creating raised beds or simply making a bolder statement. It offers superior containment for soil and mulch, especially in sloped areas. Pro tip: Mortar the layers together for maximum stability, or at least use landscape adhesive. This design works because it adds significant visual weight and practical functionality.
6. Basket Weave Wonder
If you’re into patterns that genuinely pop, the basket weave is your jam. It involves laying pairs of bricks perpendicular to each other, then alternating the direction in the next pair. The result is a charming, woven effect that’s super unique. This pattern is fantastic for adding a decorative touch that feels both traditional and distinct. Pro tip: Ensure your pairs are snug to prevent shifting over time. It works because it’s a delightful visual texture that elevates any garden.
7. Sunken Edge Perfection
Sometimes, the best edging is barely there. Burying your bricks partially, with just the top edge peeking out, creates a fantastic mowing strip and a subtle boundary. This is the ultimate low-profile solution for a seamless transition between lawn and bed. It keeps grass out without drawing too much attention to the edge itself. Pro tip: Dig a shallow trench and level it meticulously for a perfectly flush finish. This works because it’s incredibly practical and subtly elegant.
8. Curved Appeal Wizardry
Think bricks can’t do curves? Think again. By carefully staggering bricks and using smaller pieces or gaps, you can create flowing, organic lines that complement natural garden shapes. This technique allows for beautiful, sinuous borders that feel incredibly sophisticated. It’s perfect for mimicking natural landscapes and adding movement to your design. Pro tip: Use a garden hose to lay out your desired curve first, then follow it precisely. It works because it brings softness and fluidity to a typically rigid material.
9. Mixed Material Magic
Who said you have to stick to just bricks? Combine your brick edging with a gravel path, river stones, or even timber for a layered, textured look. This creates visual interest and can help define different zones within your garden. It’s a great way to add depth and personality, making your garden truly unique. Pro tip: Choose materials with complementary colors and textures for a cohesive vibe. It works because it adds complexity and character that single-material borders often miss.
10. Vertical Stagger Style
For an edgy, modern twist, try varying the height of your upright bricks. Instead of a uniform soldier course, let some bricks stand taller than others, creating a dynamic, undulating line. This adds a playful, architectural element to your garden. It’s fantastic for contemporary designs and drawing the eye with its unexpected rhythm. Pro tip: Plan your height variations beforehand to ensure a pleasing flow. This works because it’s bold, artistic, and breaks away from traditional rigidity.
Conclusion
Alright, you’ve got the lowdown on making your flower beds look like they stepped right out of a glossy magazine. From classic vibes to quirky cool, brick edging is your ticket to a garden that screams ‘I’ve got this.’ Go forth, get those bricks, and transform your outdoor space into the envy of the neighborhood. Your flowers (and your lawnmower) will thank you.