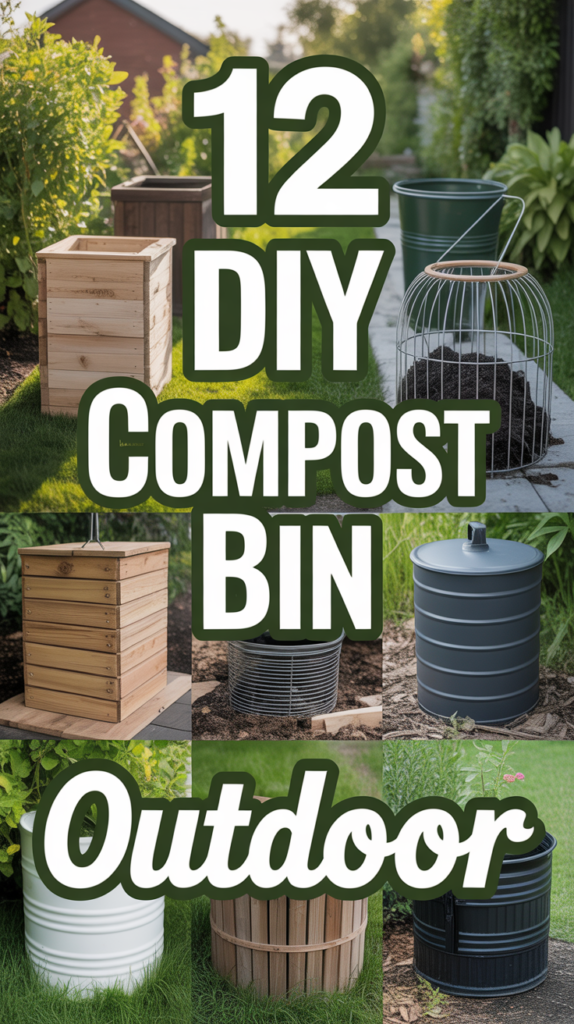
🌿 12 DIY Compost Bin Outdoor
Hey compost curious crew. Heard you’re ready to ditch the food scraps guilt and turn them into glorious garden gold. Smart move. Composting is basically magic, but like, the eco-friendly kind where you don’t need a wand, just a pile of organic goodies and a little patience. And guess what? You don’t need to drop serious cash on a fancy bin. Your backyard is practically begging for one of these DIY wonders. Let’s get dirty, shall we?
1. Pallet Powerhouse
Who knew old shipping pallets could look so chic? This is the OG of DIY compost bins for a reason. You just need a few pallets, some zip ties or screws, and maybe a power drill if you’re feeling fancy. It’s super breathable, letting that air do its thing, and surprisingly sturdy.
Pro tip: Connect three or four pallets in a square or U-shape. Leave one side open or hinged for easy turning access. Your back will thank you when it’s time to aerate.
It works because it offers excellent airflow and structure, making it a robust home for your decomposing delights.
2. Wire Mesh Wizardry
Feeling like a minimalist? Grab some hardware cloth or chicken wire and make a cylinder. It’s probably the quickest bin you’ll ever assemble, and it practically disappears into your garden landscape. Plus, turning the pile is a breeze – just lift the whole thing off and plop it back down.
Pro tip: Use a finer mesh (like 1/2 inch) if you’re worried about critters, but make sure it’s still sturdy enough to hold a good amount of material. Secure the ends with hooks or strong wire.
This design excels in ventilation, ensuring your compost cooks efficiently without much fuss.
3. Plastic Storage Savior
Got an old, large plastic storage tote collecting dust in the garage? Give it a new life. Just drill a bunch of holes in the bottom and sides for drainage and aeration. It’s a contained system, great for smaller spaces or if you want to keep things neat and tidy.
Pro tip: Put a few inches of twigs or coarse material at the bottom to prevent the holes from getting clogged. A lid is handy for keeping moisture in and rain out.
It works because it’s a simple, repurpose-friendly option that keeps your compost contained and manageable.
4. Garbage Can Genius
Similar to the plastic tote, but often larger and sturdier. A trusty old metal or plastic garbage can can become a compost haven with a few strategic modifications. Drill holes everywhere – bottom, sides, even the lid. This is your stealth compost bin, blending right into the backyard.
Pro tip: If you use a metal can, make sure it’s galvanized to prevent rust. For plastic, choose a dark color to absorb more heat, speeding up decomposition.
This method offers excellent rodent resistance and keeps your compost out of sight, out of mind.
5. Wooden Crate Creation
Think rustic charm meets practical composting. Stack a few old wooden crates, leaving gaps for air, or just use one large one. They look great and provide good ventilation. Plus, they often have a natural opening for adding materials.
Pro tip: Line the bottom with some hardware cloth if you want to deter digging critters. Secure crates together with screws or zip ties for stability.
It’s a visually appealing option that still provides the necessary airflow for happy composting microbes.
6. Straw Bale Stacker
This one is a temporary compost bin that eventually becomes part of the compost itself. Stack straw bales in a U-shape or square, leaving an opening. It insulates the pile, helping it heat up faster, and when you’re done, just break down the bales and add them to the mix.
Pro tip: Moisten the bales as you build to kickstart their own decomposition. This method is fantastic for large batches of material.
It works as a fantastic insulator and eventually adds carbon-rich material directly to your soil.
7. Concrete Block Commander
For the long-term commitment types, concrete blocks are your friend. Stack them dry (no mortar needed) to create a sturdy, permanent bin. The gaps between the blocks allow for decent airflow, and it’s practically indestructible. Plus, it looks very intentional.
Pro tip: Consider a two or three-bin system with concrete blocks to manage different stages of composting. This makes turning and harvesting a breeze.
This bin is built to last, providing a robust and stable environment for continuous composting.
8. Stacked Tire Transformer
Got some old tires lying around? Stack ’em up. This might not be the prettiest option, but it’s incredibly effective. The black rubber absorbs heat, helping your compost break down faster, and it’s super insulating. Just make sure the tires are clean.
Pro tip: Drill a few extra holes in the sidewalls of the tires for improved aeration, especially in the lower layers. You can paint them for a less industrial look.
The insulating and heat-absorbing properties of tires create an ideal environment for rapid decomposition.
9. Outdoor Worm Farm Wonder
Yes, you can have an outdoor worm farm! Find a shady spot, get a sturdy bin (plastic storage bins work great, drilled with holes), and introduce your wriggly friends. They’ll munch through your scraps, producing nutrient-rich vermicompost and “worm tea.”
Pro tip: Ensure the bin has good drainage but also protection from heavy rain and extreme temperatures. Red wigglers are your best bet for composting worms.
This method produces some of the highest quality compost and liquid fertilizer with minimal effort.
10. Chicken Wire Enclosure Expert
This is the super simple, “I need a compost bin now” solution. Just form a cylinder with a length of chicken wire, secure the ends, and you’re good to go. It’s incredibly cheap, lightweight, and perfect for a quick setup. It’s basically a hug for your pile.
Pro tip: Use strong metal stakes to anchor the chicken wire to the ground, especially if your pile gets tall and heavy. This prevents it from flopping over.
Its simplicity and excellent aeration make it a fantastic entry-level or temporary composting solution.
11. Leaf Mold Lair
If you’re drowning in autumn leaves, a dedicated leaf mold bin is a game-changer. It’s essentially just an enclosure to hold leaves while they slowly break down into a dark, crumbly soil amendment. Think chicken wire, pallets, or even just a designated corner. It’s composting on easy mode.
Pro tip: Wet the leaves thoroughly as you add them and turn the pile occasionally to speed up the process. It takes longer than regular compost but is worth the wait.
This bin turns abundant fall leaves into a valuable soil conditioner, improving soil structure and water retention.
12. Keyhole Garden Compost Central
Integrate your compost directly into your garden beds with a keyhole design. This involves a central mesh or pallet cylinder within a raised bed. You dump your kitchen scraps and garden waste into the center, and the nutrients slowly leach out into the surrounding soil, feeding your plants.
Pro tip: Layer your materials in the central compost column just like a regular bin – greens, browns, and a little soil. Keep it moist for optimal decomposition.
This innovative design continuously feeds your garden beds, creating a self-sustaining and highly efficient system.
Conclusion
See? You’re basically a composting architect now. From humble pallets to a swanky keyhole setup, there’s a DIY compost bin out there just waiting for your creative touch. So grab your tools, raid your recycling pile, and get ready to turn your “trash” into garden treasure. Your plants (and the planet) will totally send you a thank you note.