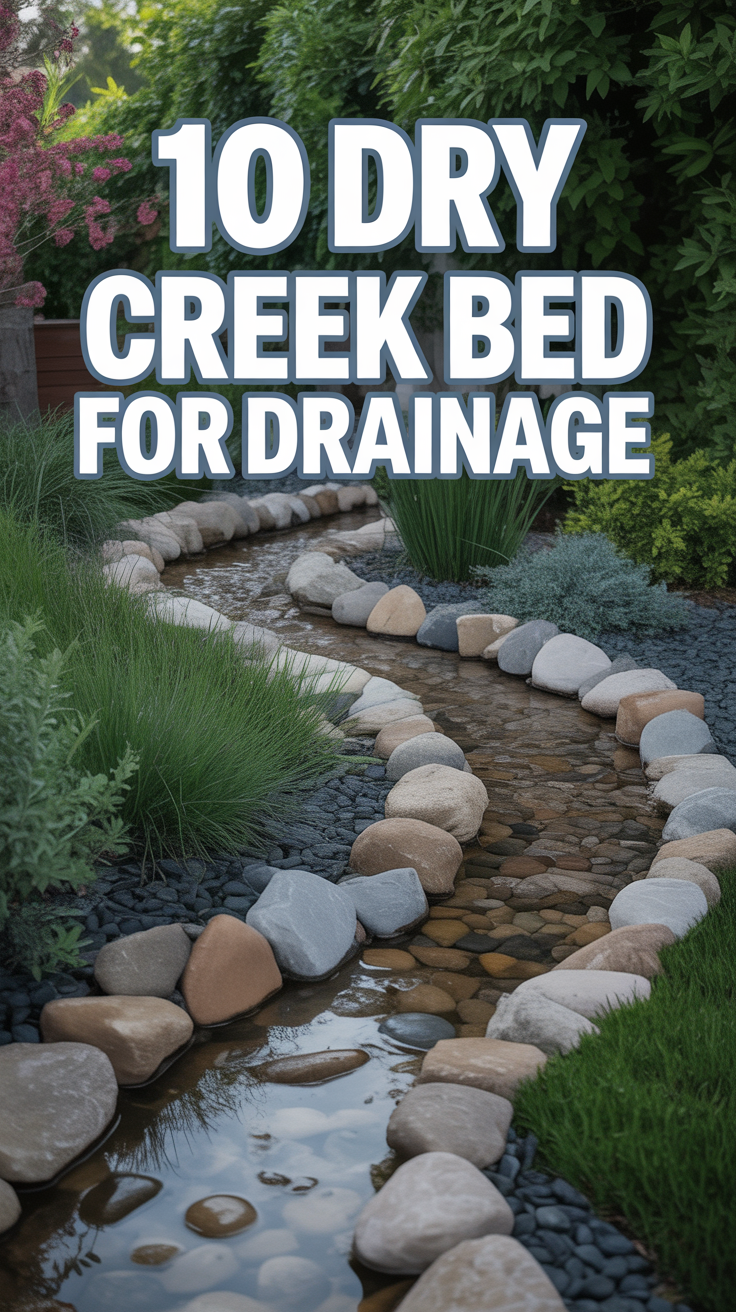
🏞️ 10 Dry Creek Bed For Drainage
Okay, real talk. Is your backyard looking less like a serene oasis and more like a swamp after every drizzle? Muddy paw prints, standing water that could host a tiny duck race (cute, but not the vibe)? We get it. Drainage issues are the absolute worst, but guess what? You don’t need to sacrifice style for function. Enter the dry creek bed, your new best friend in landscape design. It’s basically a fancy ditch that looks amazing and actually works. Think of it as Mother Nature’s elegant plumbing system, but way prettier than PVC.

1. Map Your Mess
Before you even think about shoveling, grab a coffee and watch your yard during a downpour. Seriously, observe where the water naturally flows and pools. This isn’t just for fun; it’s your crucial first step to understanding your property’s unique drainage challenges. Pro tip: Use temporary markers like flags or spray paint to outline the wettest areas. Knowing your enemy (excess water) helps you design the perfect path for its retreat.
2. Dig the Good Ditch
Alright, time to get your hands dirty, literally. Your dry creek bed needs a proper trench. It should be wider at the top and gradually taper down, mimicking a natural creek bed. Remember, depth matters here; aim for at least 6-12 inches, depending on your water flow. Pro tip: Slope it gently, around 1-2% grade, so water actually moves and doesn’t just hang out. This ensures your “creek” isn’t just a new, dry puddle.
3. Liner Love
Once your trench is dug, line it with a heavy-duty landscape fabric. This isn’t just to keep your rocks from sinking into the mud; it’s your secret weapon against weeds trying to sprout between your beautiful stones. Think of it as the foundation for your masterpiece. Pro tip: Overlap the fabric edges by at least 6 inches to prevent any sneaky weed incursions. A good liner saves you so much future backache.
4. Rock On with River Rock
The star of the show! You’ll need a variety of river rocks, from small pebbles to larger, fist-sized stones. Mixing sizes creates a much more natural and visually appealing effect. Go for smooth, rounded stones – they look like they’ve been tumbled by water for ages. Pro tip: Source local rocks if possible; they often blend better with the existing landscape. Your creek bed will look like it’s always been there.
5. Boulder Power
Don’t be shy with a few strategically placed larger boulders. These aren’t just for show; they help slow down water flow, prevent erosion, and give your dry creek bed that authentic, rugged charm. Nestling them into the banks or along the “streambed” makes it feel less like a construction project and more like a natural feature. Pro tip: Bury about a third of the boulder for stability and a more organic look. Nobody wants a runaway rock.
6. Plant Pockets
A dry creek bed doesn’t have to be just rocks! Incorporate drought-tolerant plants along the edges or in pockets within the bed itself. Think ornamental grasses, ferns, or sedges that can handle both dry spells and occasional deluges. They soften the edges and add a touch of living greenery. Pro tip: Choose plants native to your region for best success and minimal fuss. They’re already adapted to the local drama.
7. Bridge the Gap (Optional but Chic)
If your dry creek bed is wide enough or spans a pathway, consider adding a small wooden bridge. It’s not just functional; it’s an instant style upgrade that elevates the entire look of your landscape. Imagine strolling over your very own picturesque crossing. Pro tip: Ensure any bridge is sturdy and properly anchored for safety. We’re going for charm, not a trip hazard.
8. Edge it Up
Define the edges of your dry creek bed with slightly larger stones or even a subtle border of plants. This creates a clean, intentional look and prevents your river rock from migrating into your lawn. It’s about creating boundaries, even for your water feature. Pro tip: Use an edging material that complements your existing landscape. Consistency is key to a cohesive design.
9. Maintenance is Key
While low-maintenance, a dry creek bed isn’t a “set it and forget it” situation. You’ll want to occasionally clear out any accumulated leaves or debris that could block water flow. A quick rake-through now and then keeps it looking sharp and working efficiently. Pro tip: Check it after heavy rains to ensure no rocks have shifted or blockages have formed. A little vigilance goes a long way.
10. Follow the Flow
Ultimately, your dry creek bed needs to lead somewhere. Don’t just dead-end it in your yard! Guide the water to a rain garden, a permeable patio, or even safely away from your home’s foundation to a street drain. It’s about redirecting, not just containing. Pro tip: Ensure the final destination can handle the volume of water without causing new problems. We’re solving issues, not creating new ones.
Conclusion
So there you have it, folks! Turning a soggy problem into a stunning solution is totally doable with a little planning and a lot of rocks. A dry creek bed isn’t just about whisking away that annoying excess water; it’s about adding a serious dose of natural charm and curb appeal to your outdoor space. Go forth, embrace the rocks, and make your yard the envy of the neighborhood. Your lawn (and your shoes) will thank you.