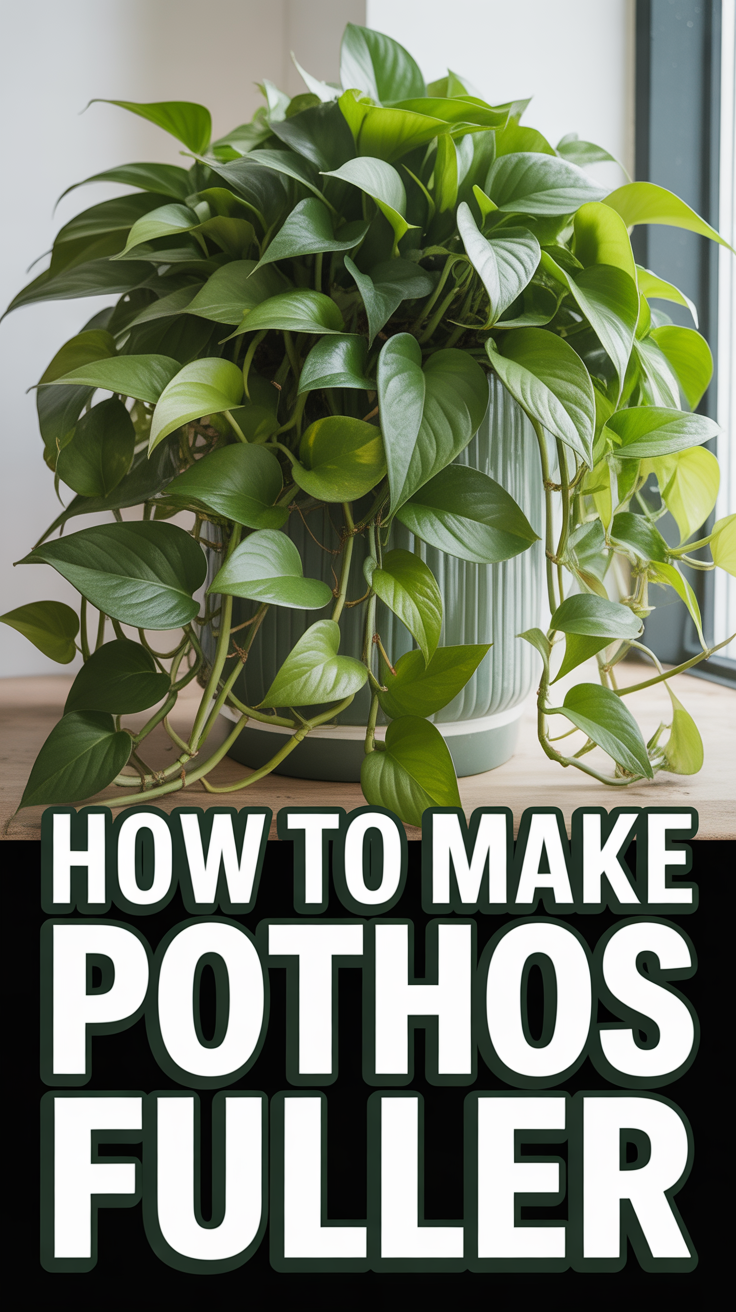
🌿 How To Make Pothos Fuller
Are you dreaming of a home filled with lush, vibrant greenery, where every corner boasts a thriving plant overflowing with life? If you have a Pothos, you’re already halfway there! This beloved houseplant is incredibly resilient and beautiful, but sometimes it can get a bit leggy, leaving you wondering how to achieve that coveted, full, and bushy look. Get ready to transform your Pothos into a cascading waterfall of emerald leaves, making your indoor (and even seasonal outdoor) spaces truly Pinterest-worthy.

Quick Overview
This guide will walk you through simple, effective techniques to encourage your Pothos to branch out, resulting in a dense, healthy, and absolutely stunning plant. You’ll learn the secrets to unlocking its full potential, turning sparse vines into a voluminous display that enhances any room or patio.
Time needed: 15-30 minutes for initial pruning/propagation, ongoing care daily/weekly.
Difficulty: Beginner
What you’ll need: Sharp pruning shears or scissors, rubbing alcohol, small pots, well-draining potting mix, rooting hormone (optional), watering can, mild houseplant fertilizer.
Step-by-Step Instructions
Step 1: Understand Your Pothos and Its Growth Habit
Before you start snipping, take a moment to observe your Pothos. Pothos (Epipremnum aureum) are vining plants, naturally growing long tendrils as they seek light. To make them fuller, we need to encourage lateral growth – new shoots emerging from the main stem closer to the pot – rather than just letting the vines stretch. This understanding is the foundation for all the steps that follow. Think of it like a beautiful climbing rose; strategic pruning makes it bloom more profusely and maintains its desired shape.
Step 2: Gather Your Tools and Sanitize
Preparation is key to a successful gardening project. You’ll need a pair of sharp pruning shears or strong scissors. Ensure they are clean and sharp to make precise cuts, which heal faster and reduce stress on the plant. Before each use, wipe the blades with rubbing alcohol. This prevents the spread of potential diseases between plants, much like a surgeon sterilizes their instruments.
Pro tip: Always sanitize your tools, even if you’re just pruning one plant. It’s a simple habit that protects your green friends.
Step 3: Prune for Bushiness – The Art of the Snip
This is the most crucial step for achieving a fuller Pothos. Pruning stimulates the plant to produce new growth from dormant “nodes” closer to the main stem, creating a bushier appearance.
Locate a long, leggy vine. Follow it back until you find a leaf node (a small bump where a leaf or aerial root emerges, or once emerged). Make your cut about ¼ inch (0.6 cm) above a node, preferably one with a healthy leaf attached. You can remove up to one-third of the plant’s total length in a single pruning session without stressing it too much. Don’t be afraid! Pothos are incredibly forgiving. Each cut encourages new growth points, effectively doubling or tripling the number of vines emerging from that area.
Pro tip: Consider the overall shape you want. If it’s a hanging basket, prune the sides to encourage cascades. If it’s on a shelf, prune the top to keep it compact and encourage side growth.
Step 4: Propagate Your Cuttings – More Pothos for Free!
Don’t let those beautiful cuttings go to waste! Pothos are famously easy to propagate, and this is a fantastic way to make your existing plant even fuller, or to start new plants for gifting or for other areas of your home.
Take your pruned sections and ensure each cutting has at least one node and a leaf or two. Remove any leaves that would be submerged in water or soil. You have two main propagation methods:
Water Propagation: Place the cuttings in a jar or vase of clean water, ensuring at least one node is submerged. Change the water every few days. Roots typically appear within 2-4 weeks.
Soil Propagation: Dip the cut end in rooting hormone (optional, but helpful), then plant the cutting directly into moist, well-draining potting mix. Keep the soil consistently damp but not soggy.
Once roots are a few inches long (for water propagation) or new growth appears (for soil propagation), you can plant multiple rooted cuttings back into the original pot. This instantly adds density and volume! Imagine a charming collection of tiny Pothos starting to fill a small terracotta pot, ready to join its parent plant or adorn a cozy reading nook.
Pro tip: Propagating in water lets you watch the roots grow, which is incredibly satisfying and a great way to engage kids in gardening.
Step 5: Optimize Lighting Conditions
Light is life for plants, and Pothos is no exception. While Pothos tolerates low light, it thrives and produces more vigorous, fuller growth in bright, indirect light.
Place your Pothos where it receives plenty of filtered sunlight, such as near an east-facing window, or a few feet back from a south or west-facing window. If the light is too dim, your Pothos will stretch and become leggy again as it tries to reach for more light, undoing all your hard work. Too much direct sun can scorch the leaves, leading to faded colors and burnt spots.
Pro tip: Rotate your Pothos every week or two. This ensures all sides get adequate light, promoting even, symmetrical growth and preventing one-sided legginess.
Step 6: Master the Art of Watering
Proper watering is crucial for a healthy, full Pothos. Overwatering is the most common killer of houseplants, leading to root rot and a sad, droopy plant. Underwatered plants will also suffer, but usually recover more easily.
Allow the top 1-2 inches (2.5-5 cm) of soil to dry out completely between waterings. Stick your finger into the soil to check moisture levels. When it’s dry, water thoroughly until water drains from the bottom of the pot. Ensure your pot has drainage holes!
In warmer months or if your Pothos is in a brighter spot, it will need more frequent watering. In winter or lower light, less is more. For outdoor Pothos (in suitable climates or as a summer decoration on a patio), check the soil daily, especially in containers, as they dry out faster.
Pro tip: Consider using a moisture meter if you’re new to plant care. It takes the guesswork out of watering and helps prevent both over and under-watering.
Step 7: Feed Your Pothos – Nutrients for Growth
Like all living things, Pothos needs nutrients to grow robustly. During its active growing season (spring and summer), fertilize your Pothos every 2-4 weeks with a balanced liquid houseplant fertilizer, diluted to half strength.
A healthy nutrient supply encourages lush foliage and strong vine development. Reduce or stop fertilizing during the dormant fall and winter months when the plant’s growth slows down.
Pro tip: Over-fertilizing can burn roots. Always err on the side of less fertilizer or dilute it more than recommended, especially for Pothos which aren’t heavy feeders.
Step 8: Repot When Necessary
If your Pothos has become root-bound (roots are circling the pot and growing out of drainage holes), it’s time for a larger home. A root-bound plant struggles to absorb water and nutrients, hindering its growth and ability to become fuller.
Choose a pot that is only one size larger (e.g., from a 6-inch to an 8-inch pot). Too large a pot can hold excess moisture, leading to root rot. Repot in fresh, well-draining potting mix. Spring is the ideal time for repotting, as the plant is entering its active growth phase and can recover quickly.
Pro tip: When repotting, gently tease apart any circling roots to encourage them to spread into the new soil.
Step 9: Provide Support for Upward Growth (Optional)
While Pothos is known for its trailing habit, in nature, it climbs trees using its aerial roots. Providing a moss pole or trellis can encourage larger leaves and a more upright, bushy form. As the vines climb, they often develop bigger leaves and a denser growth pattern. This is a wonderful way to create a striking vertical element in your indoor garden or on a shaded patio.
Gently attach the vines to the support as they grow, guiding them upwards. The aerial roots will eventually grip the pole, securing the plant.
Pro tip: For a true jungle feel, mist the moss pole occasionally to encourage aerial roots to attach more readily.
Step 10: Maintain Cleanliness and Pest Checks
A clean plant is a happy, healthy plant. Dust can accumulate on Pothos leaves, blocking pores and impeding photosynthesis. Gently wipe down the leaves with a damp cloth every few weeks.
While you’re cleaning, inspect your plant for any signs of pests like spider mites, mealybugs, or scale. Early detection is key to preventing infestations from spreading. If you find pests, treat them promptly with neem oil or insecticidal soap. A healthy, pest-free plant will devote its energy to growing full and vibrant.
Pro tip: Consider Pothos as part of a larger, vibrant ecosystem. If you have an outdoor vegetable garden or flower beds, you know how important pest management is. Apply the same vigilance to your indoor plants.
Common Mistakes to Avoid
1. Overwatering: This is the number one killer of Pothos. Soggy soil suffocates roots, leading to root rot, yellowing leaves, and eventual plant death.
Correct Approach: Always check the soil moisture before watering. Allow the top 1-2 inches to dry out. Ensure your pot has excellent drainage.
2. Insufficient Light: While tolerant of low light, Pothos will become leggy and sparse, with small, widely spaced leaves, if it doesn’t get enough bright, indirect light.
Correct Approach: Place your Pothos in a spot with bright, indirect light. Rotate it regularly to ensure even growth.
3. Not Pruning: Fear of pruning leads to long, scraggly vines rather than a full, bushy plant.
Correct Approach: Embrace pruning! It’s essential for stimulating new growth and maintaining a desirable shape. Don’t be afraid to snip.
4. Ignoring Pests: Pests can quickly weaken a plant, diverting its energy from growth and making it look unhealthy.
Correct Approach: Regularly inspect your Pothos for signs of pests, especially on the undersides of leaves. Treat any infestations promptly and thoroughly.
5. Using the Wrong Pot Size: A pot that’s too large holds too much moisture, while one that’s too small restricts root growth.
Correct Approach: Repot into a pot only one size larger when the plant is root-bound. Ensure it has drainage holes.
Troubleshooting
My Pothos is still leggy even after pruning:
Solution: Re-evaluate your light conditions. It might not be receiving enough bright, indirect light. Also, ensure you are pruning consistently and deeply enough to encourage new branching. Consider propagating cuttings and planting them back into the main pot for instant fullness.
Leaves are turning yellow:
Solution: Yellow leaves are often a sign of overwatering or nutrient deficiency. Check your watering schedule and soil moisture. If soil is soggy, let it dry out more between waterings. If watering is correct, consider if it’s time to fertilize or repot with fresh soil.
Slow or stunted growth:
Solution: This can be due to a few factors: insufficient light, lack of nutrients, or being root-bound. Check light, fertilize during growing season, and inspect roots for repotting needs. Ensure your environment isn’t too cold for the plant.
Key Takeaways
Pruning is paramount: Regular, strategic pruning is the single most effective way to encourage bushiness.
Propagate for fullness: Use cuttings to fill out your existing pot or start new plants.
Light matters: Provide bright, indirect light for vigorous, dense growth.
Water wisely: Avoid overwatering; let the soil dry out between waterings.
Nourish your plant: Fertilize during the growing season and repot when root-bound.
Clean and inspect: Keep leaves dust-free and check regularly for pests.
Frequently Asked Questions
How often should I prune my Pothos to make it fuller?
You can prune your Pothos every 2-3 months during the active growing season (spring and summer) to maintain its fullness and encourage new growth. For very leggy plants, a more aggressive prune might be needed initially.
Can I put my Pothos outside?
Pothos can thrive outdoors in warm, humid climates (USDA Zones 10-11) where there is no risk of frost, often used as a beautiful groundcover or trailing plant in shaded areas. In cooler zones, you can place your Pothos outdoors on a shaded patio or balcony during the frost-free summer months, but be sure to bring it indoors before temperatures drop. They make stunning additions to container gardens alongside seasonal flowers.
What kind of soil is best for a full Pothos?
A well-draining potting mix is essential. Look for mixes designed for houseplants, often containing perlite or vermiculite to improve aeration and drainage. You can also mix in some extra perlite yourself for added drainage.
* My Pothos vines are getting very long, but the leaves are small and far apart. What am I doing wrong?
This is a classic sign of insufficient light. The plant is stretching its vines to “reach” for more light, resulting in leggy growth with smaller, more spaced-out leaves. Move your Pothos to a brighter spot with indirect light and prune back the leggy sections to encourage bushier growth.
What’s Next?
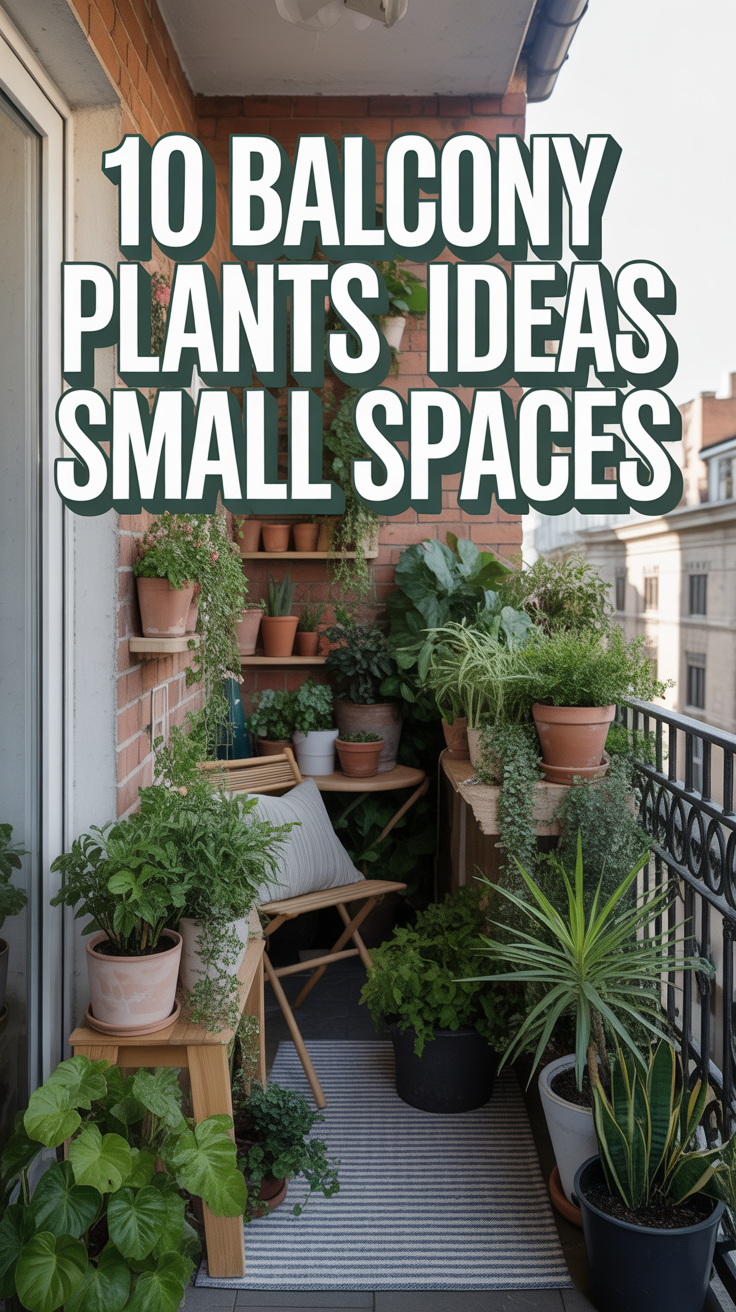
Now that you’re armed with the knowledge to cultivate a truly magnificent Pothos, why stop there? Your vibrant, full Pothos will not only be a testament to your green thumb but also a stunning addition to your living space. Consider pairing it with other easy-care houseplants like ZZ plants or Snake Plants to create an indoor jungle oasis. For outdoor enthusiasts, let the inspiration flow! Think about how the cascading beauty of your Pothos can influence your container gardening on your backyard patio, where you might mix it with colorful annuals for a dynamic display.
Perhaps you’ll be inspired to design a small space garden on your balcony, or even start a mini vegetable garden on your deck. The principles of good light, proper watering, and strategic pruning apply across the board. So, take those snips, propagate those cuttings, and watch your Pothos — and your entire garden — flourish. Your beautiful, nature-inspired home awaits!