🌱 How To Start A Garden For Beginners
Imagine stepping out into your own vibrant sanctuary, a place where fragrant blooms greet you, lush greenery soothes your soul, and perhaps, the promise of fresh, homegrown vegetables awaits. Starting a garden, whether a tiny herb pot or a sprawling backyard haven, is an incredibly rewarding journey that connects you deeply with nature and brings immense joy. This guide is your friendly companion, designed to demystify the process and help you cultivate not just plants, but a beautiful, thriving outdoor space you’ll adore.

Quick Overview
Embarking on your gardening adventure means transforming a patch of earth (or a few pots!) into a living masterpiece. You’ll learn to choose the right plants, understand your soil, and nurture your green companions, creating a personal oasis that reflects your style and brings daily delight.
Time needed: A few dedicated weekends for initial setup, then ongoing enjoyable care for a few hours each week.
Difficulty: Beginner
What you’ll need: Basic hand tools (trowel, gloves), good quality soil/potting mix, seeds or starter plants, a watering can or hose, and a sprinkle of patience!
Step-by-Step Instructions
Step 1: Dream Big, Start Small, and Observe Your Space
Before you dig in, take a moment to dream! What kind of garden inspires you? A riot of colorful flowers? A practical plot brimming with fresh vegetables? A serene corner with fragrant herbs? Collect ideas from magazines, Pinterest, or local nurseries. Once you have a vision, it’s time for practical observation.
Walk around your intended garden area throughout the day, noting how much sunlight each spot receives. Is it full sun (6+ hours), partial sun (3-6 hours), or shade (less than 3 hours)? This is arguably the most crucial step, as sunlight dictates what plants will thrive. Also, consider water access, wind patterns, and the existing landscape. For small spaces or patios, think about vertical gardening options or hanging baskets that add layers of green without taking up floor space.
Pro tip: Sketch out your ideas on paper. Don’t worry about artistic skill, just map out where you envision flower beds, a small vegetable patch, or even a cozy seating area. This helps visualize the flow and function of your future garden.
Step 2: Choose Your Garden Style and Scope
Now that you know your space and have a vision, select the type of garden that best fits your lifestyle and resources. This guide covers a few popular beginner-friendly options:
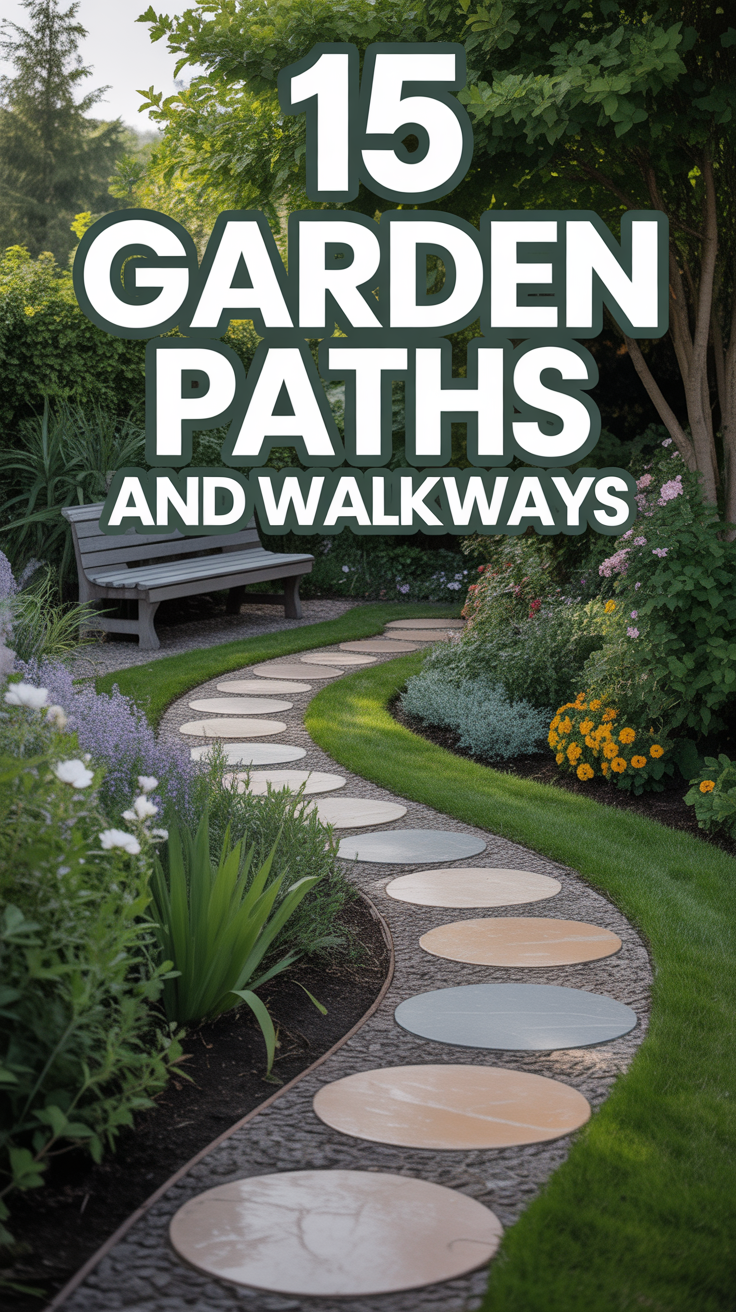
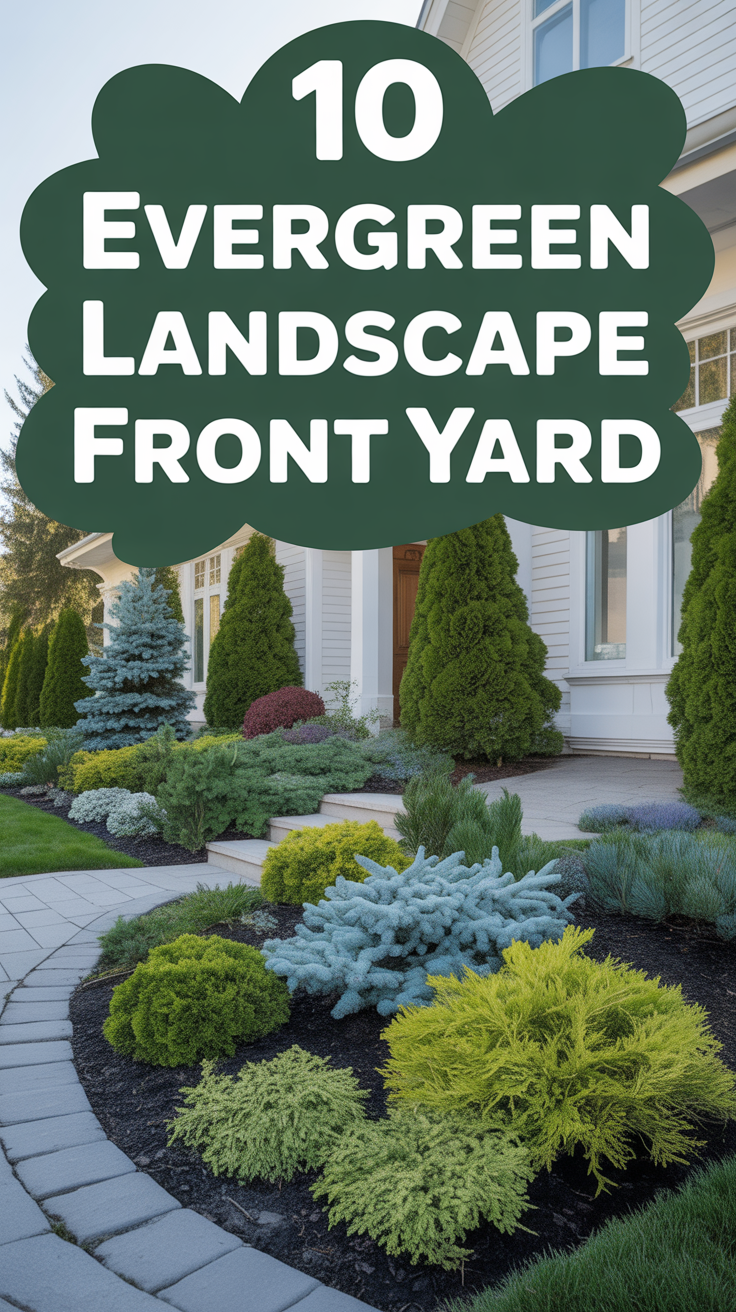
Flower Beds & Landscaping: These can transform your home’s curb appeal. Think about creating borders along pathways, foundation plantings around your house, or island beds in your yard. Focus on layering plants by height and texture for visual interest. Consider a mix of annuals (for season-long color) and perennials (which return year after year).
Vegetable Gardens: The ultimate farm-to-table experience! Start with a manageable size, perhaps a 4×4 or 4×8 foot raised bed. Choose easy-to-grow vegetables like lettuce, radishes, bush beans, tomatoes (cherry varieties are forgiving), and zucchini.
Container Gardening: Perfect for patios, balconies, or small backyards. Almost anything can grow in a pot! Mix flowers, herbs, and even some vegetables like cherry tomatoes or peppers. Ensure containers have drainage holes. This is a fantastic way to experiment and add movable splashes of color.
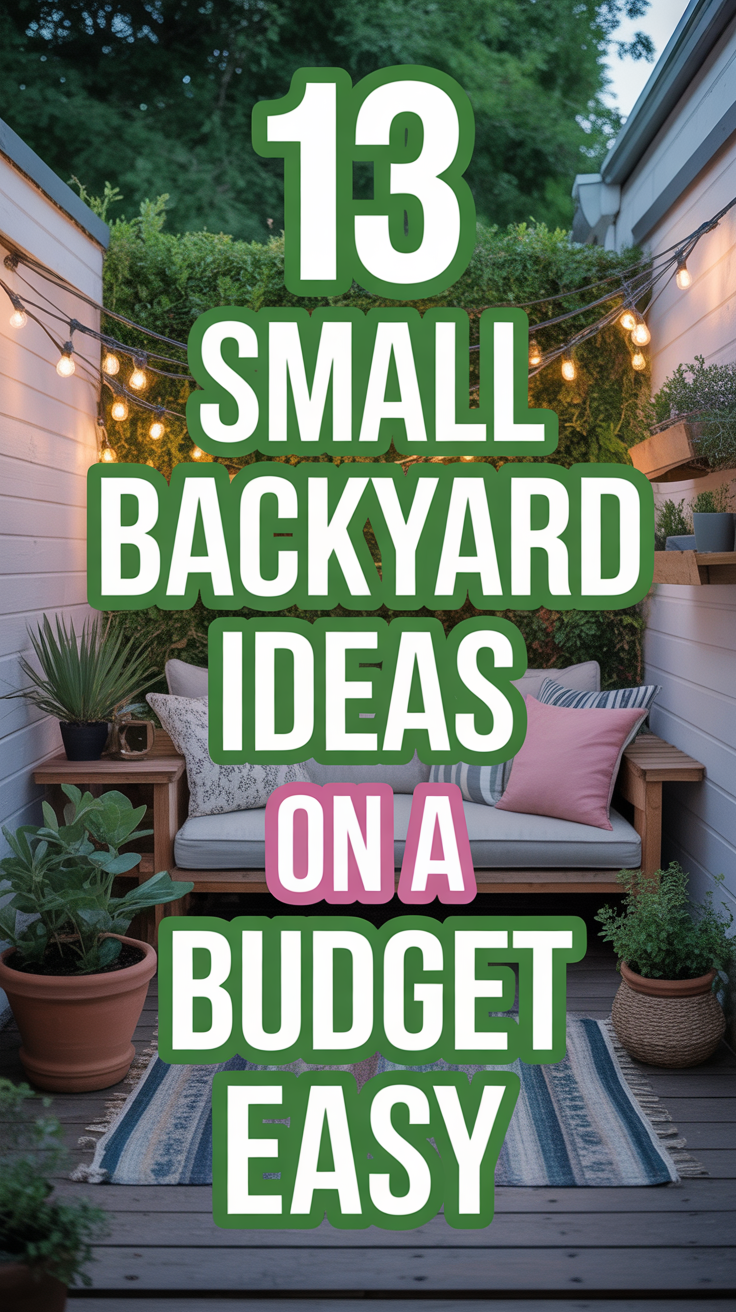
Small Space Gardening & Backyard Patios: Embrace verticality with trellises for climbing plants, wall-mounted planters, or tiered garden stands. Use hanging baskets to add greenery overhead. Incorporate comfortable seating and string lights to create a truly enchanting outdoor room.
Step 3: Understand and Prepare Your Soil
Healthy soil is the foundation of a thriving garden. Think of it as the pantry for your plants, providing essential nutrients and a stable home for roots.
Soil Testing: For in-ground beds, consider a simple soil test kit (available at garden centers) or send a sample to your local extension office. This tells you your soil’s pH and nutrient levels, guiding your amendments.
Amending Your Soil: Most beginner gardens benefit greatly from adding organic matter.
Compost: This “black gold” improves soil structure, drainage, and nutrient retention. Mix a generous 2-4 inch layer into the top 6-12 inches of your garden bed.
Well-rotted Manure: Another excellent organic amendment, similar to compost.
Raised Beds: If building raised beds, fill them with a mix of good quality topsoil, compost, and a bit of perlite or vermiculite for drainage. This gives you immediate control over your soil quality.
Pro tip: Good drainage is key. If your soil is heavy clay and water pools after rain, adding gypsum or more organic matter can help break it up. If it’s too sandy and drains too quickly, organic matter will help it retain moisture.
Step 4: Select Your Plants Wisely (and Beautifully!)
This is where your garden truly comes to life! Choosing the right plants for your specific conditions is vital for success.
Know Your Zone: Look up your USDA Plant Hardiness Zone (a quick online search with your zip code will tell you). This zone indicates which perennial plants can survive winter temperatures in your area. For annuals and vegetables, zones are less critical, but understanding your local climate’s frost dates is essential.
Sunlight Match: Only choose plants that match the sunlight conditions you observed in Step 1. “Full sun” plants will languish in shade, and “shade” plants will scorch in full sun.
Beginner-Friendly Plants:
Flowers: Marigolds, zinnias, cosmos, sunflowers, impatiens (shade), petunias, nasturtiums, calendula. For perennials, consider hostas (shade), coneflowers, black-eyed Susans, lavender, sedum.
Vegetables: Lettuce, spinach, radishes, bush beans, snap peas, Swiss chard, cherry tomatoes, bell peppers, zucchini, herbs (basil, mint, parsley, rosemary, thyme).
Herbs: A fantastic choice for containers or small beds, offering both beauty and culinary delight.
Seasonal Timing:
Spring: Plant cool-season vegetables like lettuce, peas, and radishes. Start warm-season veggies (tomatoes, peppers) indoors from seed or buy starter plants after your last frost date. Plant spring-flowering bulbs in fall for a burst of color.
Summer: The main growing season for most flowers and warm-season vegetables. Keep an eye on watering!
Fall: Plant cool-season crops again. Plant trees, shrubs, and spring-flowering bulbs. Clean up garden beds.
Winter: Plan for next year! Protect delicate plants if needed.
Pro tip: Read plant tags carefully! They provide crucial information on light, water, mature size, and spacing. Don’t overcrowd your plants; they need room to grow and good air circulation.
Step 5: Prepare Your Garden Site
With your soil ready and plants chosen, it’s time to get the space ready for planting.
Clear the Area: Remove any weeds, rocks, or debris. For existing grassy areas, you can remove sod by hand, use a sod cutter, or smother it with cardboard and a thick layer of compost/mulch (this takes longer but is less labor-intensive).
Define Your Beds: Use string, a hose, or spray paint to outline the shape of your garden beds. This helps visualize the final layout and ensures smooth, pleasing curves or straight lines.
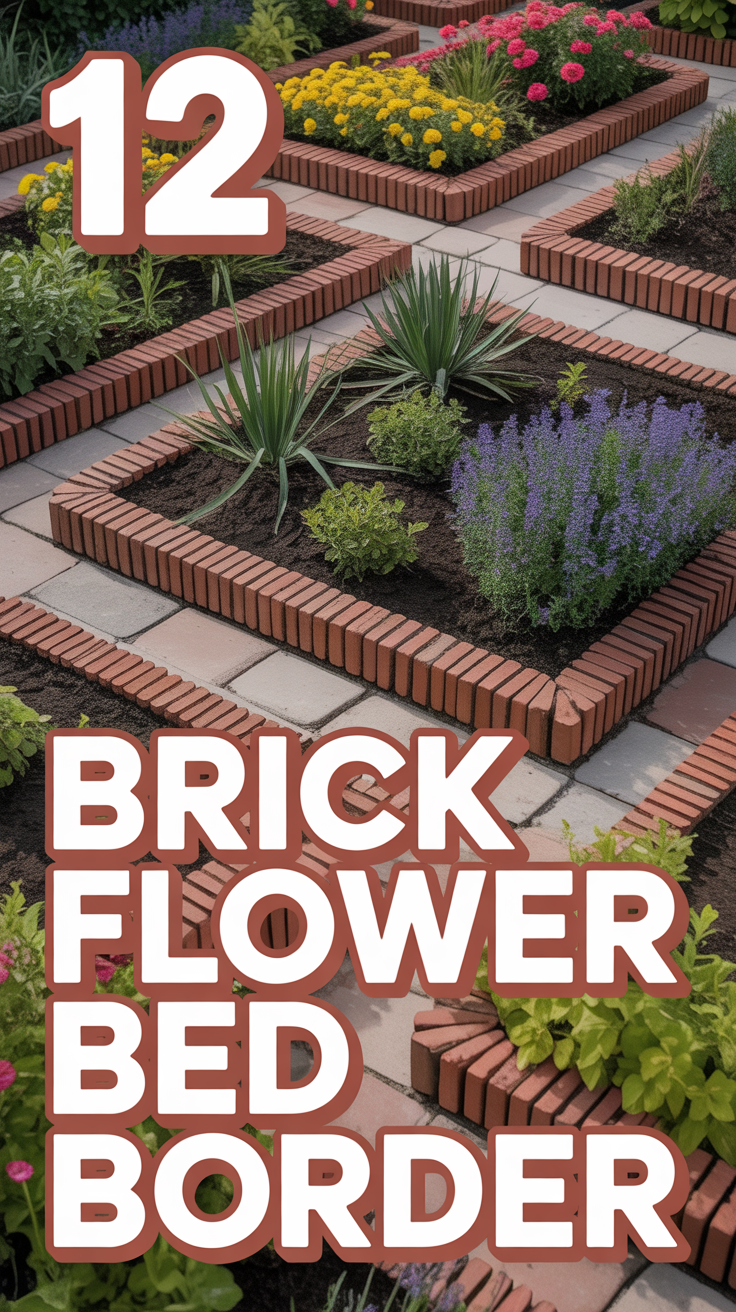
Edge Your Beds: Install edging materials (plastic, metal, brick, stone) to create a clean boundary between your garden and lawn/pathway. This helps prevent grass from creeping into your beds and gives a finished look.
Work the Soil: If you haven’t already, thoroughly mix in your chosen soil amendments to the top 6-12 inches of your bed. Rake the surface smooth, creating a level planting area.
Step 6: Planting Day!
The most exciting step! Handle your plants gently.
Seeds: Follow package directions for planting depth and spacing. Create small furrows or holes, drop in seeds, cover lightly with soil, and gently water.
Starter Plants (Transplants):
1. Dig a hole slightly wider and as deep as the plant’s root ball.
2. Gently remove the plant from its container. If the roots are tightly bound (root-bound), gently tease them apart at the bottom.
3. Place the plant in the hole so the top of the root ball is level with the surrounding soil.
4. Backfill with soil, gently firming around the base to remove air pockets.
5. Water thoroughly immediately after planting.
Spacing: Always adhere to the spacing recommendations on plant tags. It’s tempting to plant closely for an instant full look, but plants need room to grow, get air circulation, and access nutrients.
Pro tip: Plant on a cloudy day or in the late afternoon to reduce transplant shock, giving your new plants a gentler transition into their new home.
Step 7: Water Wisely and Consistently
Watering is an art and a science. Too little, and plants wilt; too much, and roots can rot.
Deep and Infrequent: Aim for deep watering sessions rather than frequent, shallow sprinkles. This encourages roots to grow deeper, making plants more resilient. Water until the soil is moist to a depth of 6-8 inches.
Check the Soil: The best way to know when to water is to feel the soil. Stick your finger 1-2 inches deep. If it feels dry, it’s time to water.
Time of Day: Water in the early morning. This allows foliage to dry before nightfall, reducing the risk of fungal diseases, and minimizes water loss through evaporation.
Methods: Use a watering can for small containers or a gentle shower setting on your hose. Drip irrigation or soaker hoses are excellent for larger beds, delivering water directly to the roots and conserving water.
Step 8: Nurturing Your Growing Garden
Your garden is a living thing that needs ongoing care to thrive.
Weeding: Weeds compete with your plants for water, nutrients, and sunlight. Pull them regularly, especially when they’re small, to prevent them from taking over. A layer of mulch (see below) can significantly reduce weeds.
Mulching: Apply a 2-4 inch layer of organic mulch (wood chips, straw, shredded leaves, pine needles) around your plants. Mulch conserves soil moisture, suppresses weeds, regulates soil temperature, and slowly adds organic matter as it decomposes. Keep mulch a few inches away from plant stems to prevent rot.
Fertilizing: With good soil preparation, your plants might not need much fertilizer initially. If plants show signs of nutrient deficiency (e.g., yellowing leaves, stunted growth), use a balanced organic fertilizer or a specific plant food as directed.
Pest and Disease Watch: Inspect your plants regularly. Early detection is key. Many common pests (like aphids) can be dislodged with a strong spray of water or treated with insecticidal soap. For diseases, ensure good air circulation and remove affected leaves. Always opt for organic solutions first.
Pruning & Deadheading: Remove spent flowers (deadheading) to encourage more blooms. Prune back leggy growth to maintain shape and encourage bushier plants.
Step 9: Harvest and Enjoy Your Bounty!
This is the ultimate reward!
Vegetables & Herbs: Harvest regularly to encourage more production. Pick vegetables when they are young and tender for the best flavor.
Flowers: Cut flowers for bouquets to bring the beauty indoors.
Relax & Reflect: Take time to simply sit in your garden. Listen to the birds, watch the bees, and breathe in the fragrant air. Your garden is a place of peace and beauty that you created.
Common Mistakes to Avoid
1. Ignoring Sunlight Requirements: Planting a sun-loving plant in shade or vice-versa is a recipe for disappointment. Always match plants to their light needs.
Correct Approach: Observe your garden’s sun exposure for a full day before buying plants. Read plant tags carefully for “Full Sun,” “Partial Sun,” or “Shade.”
2. Overwatering (or Underwatering): Both extremes are detrimental. Overwatering suffocates roots, leading to rot; underwatering stresses plants.
Correct Approach: Feel the soil 1-2 inches deep. Water deeply when dry, allowing the topsoil to dry out slightly between waterings. Water in the morning.
3. Poor Soil Preparation: Trying to grow plants in compacted, nutrient-poor soil is like trying to bake a cake without flour.
Correct Approach: Invest time in amending your soil with plenty of organic matter (compost). For new beds, consider a soil test.
4. Overcrowding Plants: Placing plants too close together restricts air circulation, promotes disease, and limits growth as they compete for resources.
Correct Approach: Always follow spacing guidelines on plant tags, even if your garden looks sparse initially. Plants will fill in!
5. Giving Up Too Soon: Gardening is a learning process with ups and downs. Don’t get discouraged by a few struggles.
Correct Approach: Embrace failures as learning opportunities. Every gardener has plants that don’t thrive. Research, ask for advice, and keep experimenting.
Troubleshooting
Problem: Yellowing Leaves
Quick Solution: Yellow leaves can indicate overwatering (roots suffocating), underwatering (nutrient stress), or nutrient deficiency. Check soil moisture first. If consistently wet, reduce watering. If dry, water deeply. If neither, consider a balanced liquid fertilizer.
Problem: Pests (e.g., small bugs on leaves)
Quick Solution: Many soft-bodied pests like aphids can be dislodged with a strong spray of water from a hose. For persistent issues, use an insecticidal soap spray (ensure it’s safe for your plants and beneficial insects) or introduce beneficial insects like ladybugs.
Problem: Plants not growing/stunted
Quick Solution: Re-evaluate sunlight, soil quality, and watering. Are they getting enough light? Is the soil well-drained and rich in nutrients? Are they getting consistent water? Ensure they aren’t root-bound in their pots before planting.
Key Takeaways
Observe First: Understand your garden’s sunlight and space before choosing plants.
Soil is Gold: Healthy soil, rich in organic matter, is the foundation of success.
Match Plants to Conditions: Select plants suitable for your USDA zone, sunlight, and climate.
Water Wisely: Deep, infrequent watering in the morning is best.
Nurture & Maintain: Regular weeding, mulching, and checking for pests keeps your garden healthy.
* Start Small, Learn, and Enjoy: Don’t overwhelm yourself. Begin with a manageable project and let your confidence grow with your garden.
Frequently Asked Questions
Q: What are the easiest plants for a beginner to grow?
A: For flowers, try marigolds, zinnias, cosmos, or impatiens (for shade). For vegetables, lettuce, radishes, bush beans, and cherry tomatoes are very forgiving. Herbs like basil, mint, and parsley are also excellent choices.
Q: How often should I water my garden?
A: There’s no fixed schedule; it depends on weather, soil type, and plant needs. The best method is to feel the soil: if the top 1-2 inches are dry, it’s time to water deeply. Aim for consistency rather than frequency.
Q: Do I need special tools to start a garden?
A: Not many! A sturdy hand trowel, a pair of gardening gloves, and a watering can or hose are enough to begin. As you progress, you might add a hand cultivator, pruning shears, and a garden fork.
Q: Can I garden if I only have a small apartment balcony?
A: Absolutely! Container gardening, vertical gardens, hanging baskets, and railing planters are perfect for small spaces. You can grow herbs, salad greens, cherry tomatoes, peppers, and a wide array of beautiful flowers.
What’s Next?
You’ve taken the first exciting steps toward creating your own green haven! Don’t stop here. Continue to observe your garden, learn from your plants, and enjoy the process. Consider exploring composting to enrich your soil further, or delve into specific plant families that capture your interest. Perhaps you’ll want to attract pollinators with native plants or design a serene water feature. The world of gardening is vast and endlessly rewarding. So grab your gloves, step outside, and let the magic of your growing garden unfold today!