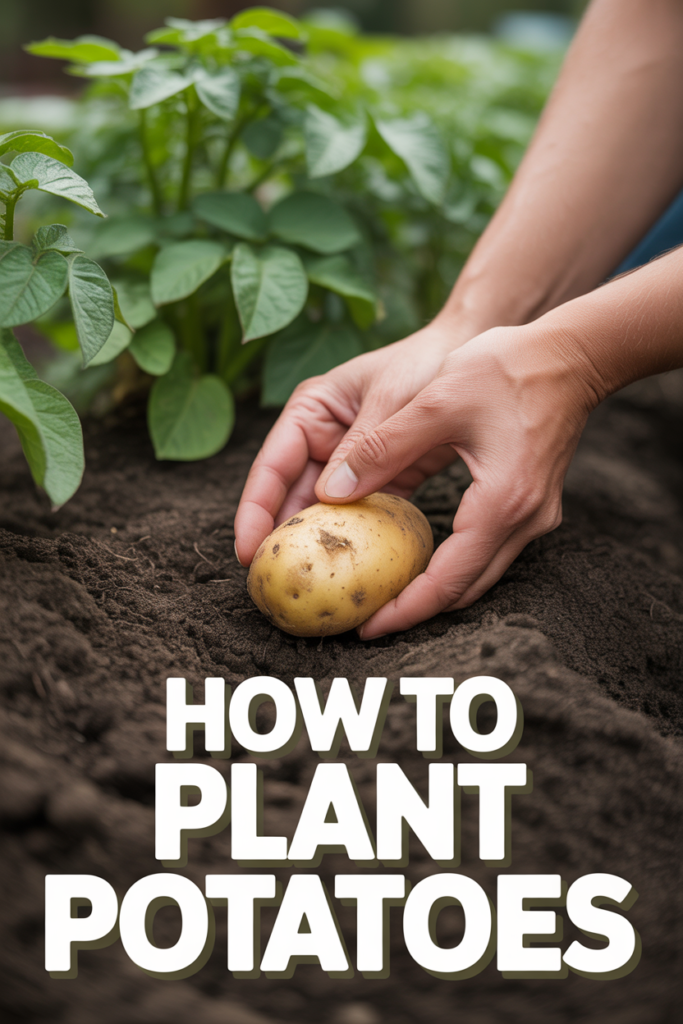
🌱 How To Plant Potatoes
👩🌾 The Master Gardener's Starter Kit
Having a healthy, thriving garden is ten times easier when you aren't fighting with cheap tools. These are the 5 rugged, reliable gardening essentials that experienced landscapers and passionate home gardeners swear by to save time, protect their joints, and get better yields.
✂️ Felco F-2 Classic Manual Pruners
The legendary "buy it for life" pruning shears. Cheap pruners crush stems and spread disease, but these Swiss-made, razor-sharp bypass pruners slice cleanly through thick branches and rose bushes effortlessly. Every single part is replaceable, making it a true lifetime investment.
💧 XLUX Soil Moisture Meter
Overwatering is the number one reason plants die. This simple, battery-free probe completely removes the guesswork from your watering schedule. Just stick it in the soil at root level to instantly know exactly when your veggies, flowers, or houseplants are actually thirsty.
🐍 Flexzilla Heavy Duty Garden Hose
Stop wrestling with stiff, heavy rubber hoses that pinch and cut off water flow. This incredibly lightweight, high-visibility green hose lays completely flat, never kinks under pressure, and is surprisingly easy to coil back up—even in freezing weather.
🧘♀️ Extra Thick High-Density Kneeling Pad
Gardening shouldn't mean suffering joint pain for three days afterward. This ultra-thick, water-resistant foam pad absorbs rocks, roots, and uneven ground, protecting your knees whether you're pulling weeds for five minutes or planting bulbs all afternoon.
🧤 Pine Tree Tools Bamboo Garden Gloves
Finally, a glove that protects hands without making you lose your dexterity. These breathable bamboo-fiber gloves fit like a second skin, allowing you to handle delicate seedlings or grip muddy tools securely while keeping dirt from packing under your fingernails.
Imagine stepping out into your backyard, the morning dew still glistening on vibrant green leaves, and unearthing a treasure trove of your very own homegrown potatoes. There’s a profound joy in connecting with the earth, nurturing life, and harvesting fresh, delicious food right from your garden. Planting potatoes isn’t just about growing a staple; it’s an invitation to cultivate a piece of nature’s bounty, transforming your outdoor space into a haven of productivity and beauty.
Quick Overview
Embark on a rewarding gardening adventure by planting your own potatoes, a surprisingly simple process that yields an abundant harvest. You’ll learn how to select the best seed potatoes, prepare their ideal growing environment, and nurture them from tiny sprouts to flourishing plants. This guide will walk you through creating the perfect spot, whether it’s a traditional garden bed, a chic raised planter, or even a compact container on your patio, ensuring a successful and satisfying yield.
Time needed: 1-2 hours for initial planting, then minimal ongoing care.
Difficulty: Beginner
What you’ll need: Seed potatoes, sharp knife (optional), shovel or trowel, rich well-draining soil, compost or aged manure, water source, optional: grow bags, raised bed materials.
Step-by-Step Instructions
Step 1: Choose and Prepare Your Seed Potatoes (The “Chitting” Charm)
The journey to a bountiful potato harvest begins with selecting the right foundation: your seed potatoes. These aren’t just any spuds from the grocery store; seed potatoes are specially grown to be disease-free and are certified for planting. You can find them at local garden centers, nurseries, or online suppliers, often available in early spring. Look for varieties suited to your local climate and growing season. Early, mid-season, and late-season varieties offer different maturity times, allowing for staggered harvests if you wish to extend your bounty.
Once you have your seed potatoes, the next enchanting step is “chitting” them. Chitting is simply pre-sprouting your potatoes before planting, which can give them a head start and potentially lead to earlier and larger yields. To chit, place your seed potatoes in a single layer in a shallow tray or egg carton, in a cool (around 50-60°F or 10-15°C), bright spot away from direct sunlight. A garage window, a cool pantry shelf, or a protected porch corner works wonderfully. Over the next two to four weeks, you’ll notice small, stubby, green or purple sprouts emerging from the “eyes” of the potatoes. These sturdy sprouts are exactly what you’re looking for, much more resilient than the long, pale sprouts that form in a dark cupboard.
If your seed potatoes are larger than a chicken egg, you can cut them into smaller pieces before chitting or just before planting. Each piece should have at least two “eyes” (the indentations where sprouts emerge). Use a clean, sharp knife to make the cuts, ensuring each piece is roughly 1.5 to 2 ounces. After cutting, let the pieces “cure” for a day or two in a dry, open spot. This allows the cut surfaces to form a protective callous, which helps prevent rot once planted. This curing process is especially crucial if you live in a region with high humidity or heavy rainfall during planting season.
Pro tip: While chitting isn’t strictly necessary, it’s a delightful way to observe the early signs of life and can significantly boost your potato plants’ initial vigor. It’s a small effort for a potentially big reward!
Step 2: Select Your Perfect Planting Spot (Sun and Soil are Key!)
Potatoes are sun-worshippers, thriving in locations that receive at least 6-8 hours of direct sunlight per day. When choosing your planting spot, whether it’s a dedicated vegetable patch, a stylish raised bed, or a collection of vibrant containers on your patio, prioritize sunshine. A south-facing garden spot or a corner of your backyard patio that gets ample morning sun is ideal.
Beyond sunshine, the soil itself is paramount. Potatoes prefer loose, well-draining soil that is slightly acidic (pH 5.0-6.0). Heavy clay soils that retain too much water can lead to rot, while sandy soils may not hold enough moisture or nutrients. If your soil isn’t ideal, don’t despair; this is where the magic of amendments comes in! Consider your overall garden landscape. Could a new potato patch become a focal point, perhaps framed by a border of cheerful marigolds or a low-lying lavender bush? For small space gardening, think vertically with potato towers or strategically placed grow bags that add texture and life to a compact patio.
For those in cooler climates, consider a spot that warms up quickly in the spring, perhaps sheltered from harsh winds by a fence or a dense evergreen hedge. In hotter regions, some afternoon shade can be beneficial to prevent the soil from overheating, especially for later-season varieties. Always check your USDA hardiness zone and local frost dates. Potatoes are sensitive to frost, so aim to plant after the last expected frost date in your area, typically when soil temperatures consistently reach 45°F (7°C) or higher.
Pro tip: Avoid planting potatoes in a spot where tomatoes, peppers, or eggplants (all members of the nightshade family) have grown in the past two years. This helps prevent the spread of common diseases that affect these related crops.
Step 3: Prepare Your Soil for Success (The Foundation of Flavor)
Great soil is the secret ingredient for a phenomenal potato harvest. Before planting, take the time to prepare your chosen spot. Begin by clearing any weeds, rocks, or debris. Then, enrich the soil generously with organic matter. Incorporate 2-4 inches of well-rotted compost, aged manure, or other organic amendments. This improves soil structure, enhances drainage, and provides a slow-release source of nutrients as the potatoes grow. For heavy clay soils, organic matter helps to loosen it, making it easier for tubers to expand. For sandy soils, it improves water retention and nutrient availability.
If you’re planting in a traditional garden bed, dig down about 8-12 inches and thoroughly mix in your amendments. For raised beds, fill them with a high-quality raised bed mix that is typically a blend of topsoil, compost, and perlite or vermiculite for drainage. For container gardening, use a premium potting mix specifically designed for vegetables, ensuring it’s light and well-draining. You can also mix in some slow-release organic fertilizer at this stage, following package directions. A balanced fertilizer or one slightly higher in phosphorus and potassium will support strong tuber development.
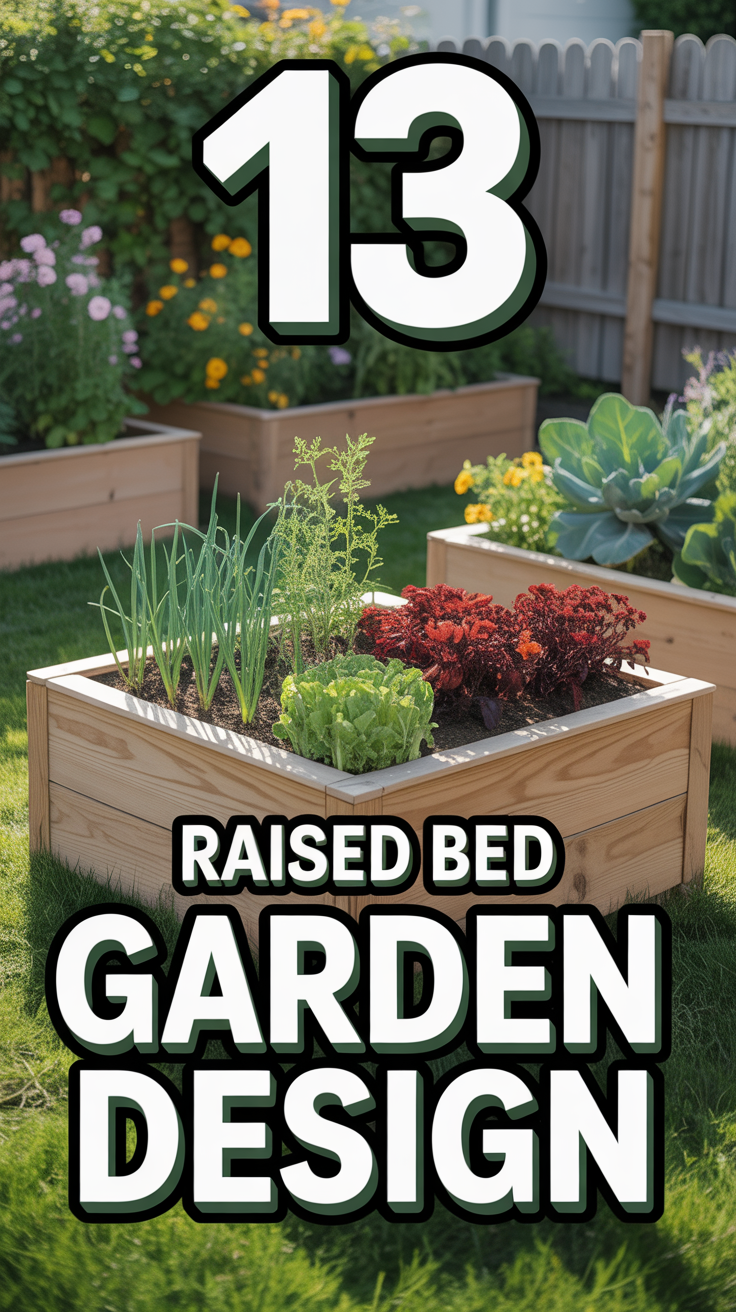
For a Pinterest-worthy garden aesthetic, consider building a simple DIY raised bed. Using untreated cedar or pine planks, you can create a beautiful focal point that also offers excellent drainage and easier access for planting and harvesting. Imagine a rustic raised bed overflowing with lush potato foliage, framed by companion flowers like nasturtiums or calendula cascading over the edges. This blend of functionality and beauty elevates your vegetable garden into a true outdoor sanctuary.
Pro tip: If your soil is very alkaline, you can gently lower the pH by incorporating elemental sulfur or peat moss, but it’s best to do a soil test first to know exactly what your soil needs.
Step 4: Dig Your Trenches or Prepare Your Containers/Beds
Now that your soil is prepped and ready, it’s time to create the perfect home for your seed potatoes. The method you choose will depend on your gardening style and available space.
For traditional in-ground gardens or large raised beds, the trench method is common. Dig trenches about 6-8 inches deep and 12 inches wide. If you’re planting multiple rows, space your trenches about 2-3 feet apart to allow for proper air circulation and hilling later on. This spacing also gives your potato plants ample room to spread their foliage and roots, maximizing their potential yield.
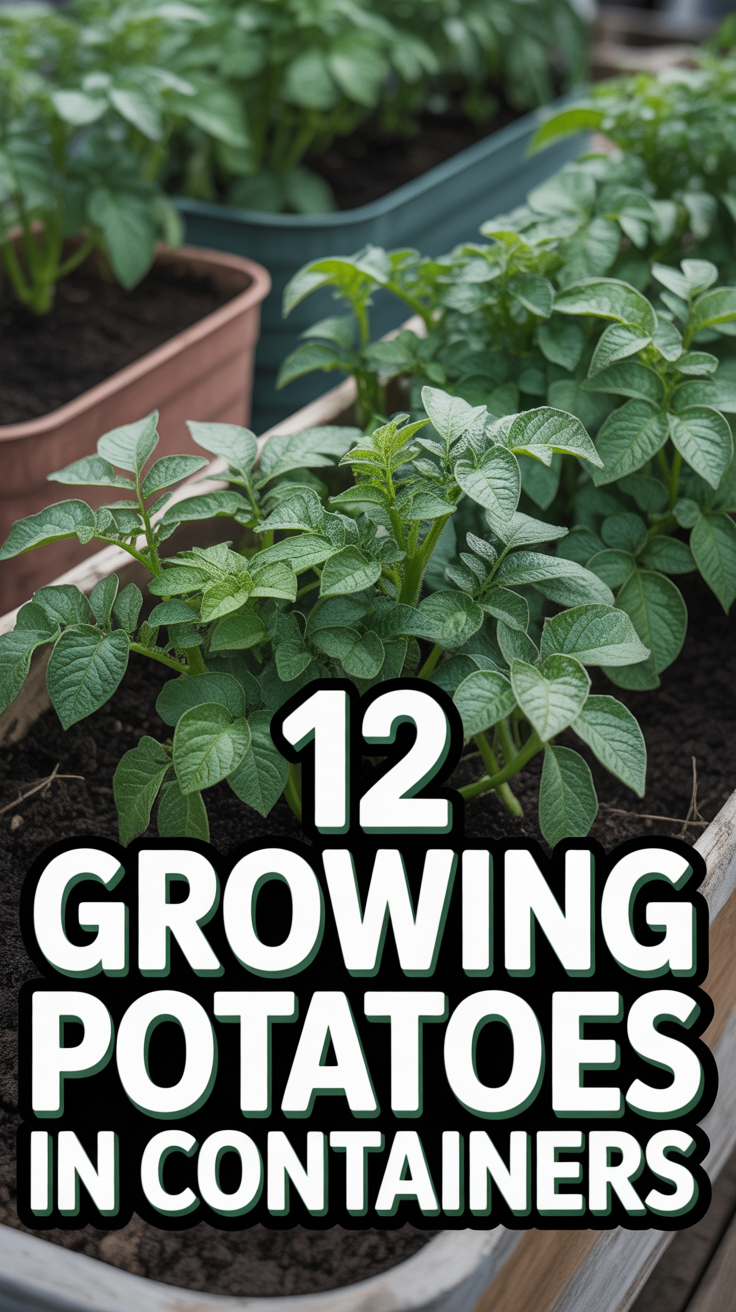
If you’re embracing small space gardening or container gardening, grow bags (often 10-15 gallons), large pots, or even repurposed sturdy containers (like half whiskey barrels or large plastic bins with drainage holes added) are fantastic options. Fill your chosen containers with about 6-8 inches of your prepared potting mix. For a unique DIY touch, consider painting your grow bags or containers in earthy tones or vibrant colors to complement your backyard patio decor. Imagine a cluster of brightly colored pots brimming with potato plants, adding a touch of rustic charm to your outdoor living space.
Pro tip: When using grow bags or containers, ensure they have sufficient drainage holes. Potatoes hate wet feet, and poor drainage is a common cause of rot.
Step 5: Plant Your Seed Potatoes (The Moment of Truth!)
The exciting moment has arrived! Carefully place your chitted seed potato pieces (sprout-side up) into your prepared trenches or containers.
In trenches, space the potato pieces about 10-12 inches apart. This spacing allows each plant enough room to grow without competing too heavily for nutrients and moisture, leading to larger, healthier tubers. Gently cover the seed potatoes with 3-4 inches of soil, forming a small mound over each piece.
For containers or grow bags, place 1-3 seed potato pieces (depending on the container size; one for smaller pots, up to three for large grow bags) evenly spaced on top of the 6-8 inches of soil. Then, cover them with another 3-4 inches of soil.
After planting, give your newly planted potatoes a good, deep watering. This helps settle the soil around the seed potatoes and kickstarts the growth process. The first tender green shoots should emerge from the soil within 2-4 weeks, depending on the variety and soil temperature. This initial watering is crucial for establishing the seed potatoes and encouraging healthy root development.
Consider incorporating companion planting right from the start. Planting beneficial flowers like alyssum or sweet peas nearby can attract pollinators and beneficial insects, enhancing the overall health and biodiversity of your garden space. These additions not only serve a practical purpose but also contribute to a stunning, Pinterest-worthy garden aesthetic, blending edibles with ornamentals seamlessly.
Pro tip: Mark your rows or containers with labels indicating the potato variety and planting date. This will be helpful for tracking growth and planning future planting cycles.
Step 6: The Art of Hilling (A Crucial Step for Abundance)
Hilling is perhaps the most critical step in growing a successful potato crop, and it’s essential for maximizing your yield and preventing your potatoes from turning green. As your potato plants grow, their stems will develop new tubers above the original seed potato. These new tubers need to be covered with soil to protect them from sunlight. Exposure to sunlight causes potatoes to produce solanine, a bitter, toxic compound that turns them green.
The hilling process involves gradually mounding more soil around the base of the growing plants. Begin hilling when your potato plants are about 6-8 inches tall. Gently draw soil up around the stems, leaving only the top few inches of foliage exposed. Repeat this process every 2-3 weeks, or whenever the plants grow another 6-8 inches, continuing until the plants begin to flower or the mounds are about 10-12 inches high. For traditional rows, this creates a significant ridge of soil along the row.
For container gardeners, hilling is just as important. As the plant grows, simply add more potting mix to the container, leaving the top few inches of foliage visible. This technique is often referred to as “layering” in containers and is particularly effective in grow bags, where you can gradually roll up the sides as you add more soil. This not only protects the developing tubers but also encourages more tubers to form along the buried stem, significantly increasing your harvest.
Pro tip: You can use straw or shredded leaves for hilling in addition to soil. This helps retain moisture, suppress weeds, and keeps the soil cooler, which potatoes appreciate. Plus, it adds an attractive, natural mulch layer to your garden beds.
Step 7: Watering, Feeding, and Ongoing Care (Nurturing Your Future Harvest)
Consistent care throughout the growing season will ensure a healthy and productive potato patch.
Watering: Potatoes need consistent moisture, especially during flowering and tuber development. Aim for about 1 inch of water per week, either from rainfall or irrigation. Feel the soil; if the top 2-3 inches feel dry, it’s time to water. Water deeply and thoroughly, encouraging roots to grow deeper. Avoid overhead watering late in the day, as wet foliage overnight can encourage fungal diseases. Drip irrigation or soaker hoses are excellent choices, delivering water directly to the root zone while keeping leaves dry.
Feeding: If you amended your soil well at planting, your potatoes might not need much supplemental feeding. However, a balanced organic liquid fertilizer applied every 3-4 weeks, especially during flowering, can support robust growth. Avoid fertilizers high in nitrogen once the plants are established, as too much nitrogen can encourage leafy growth at the expense of tuber development.
Weed Control: Keep your potato patch free of weeds, as they compete for water and nutrients. Hand-pulling weeds is often the best method, especially around the delicate potato roots. A layer of mulch (straw, shredded leaves, or wood chips) around your potato plants can help suppress weeds, retain soil moisture, and regulate soil temperature.
Pest and Disease Management: Keep an eye out for common potato pests like Colorado potato beetles and flea beetles. Hand-picking beetles and their larvae is an effective organic control method for smaller gardens. For diseases like late blight, good air circulation (achieved through proper spacing and hilling) and avoiding overhead watering can help prevent issues. If you notice signs of disease, consult local cooperative extension resources for appropriate organic treatments.
Pro tip: Companion planting can naturally deter pests. Planting marigolds nearby can repel nematodes and other soil pests, while nasturtiums can act as a trap crop for aphids, drawing them away from your potatoes. This natural pest control adds beauty and biodiversity to your garden.
Step 8: Harvesting Your Golden Treasure (The Sweet Reward!)
The moment you’ve been patiently waiting for has arrived! Harvesting your homegrown potatoes is one of the most satisfying experiences in gardening. The timing depends on the variety you planted and whether you’re aiming for “new potatoes” or fully mature storage potatoes.
New Potatoes: If you love tender, thin-skinned new potatoes, you can start harvesting them when the plants begin to flower. Gently dig around the base of a plant with your hands or a small trowel, carefully feeling for small tubers. Take a few, then carefully re-cover the roots with soil, allowing the plant to continue producing more. This “scavenger hunt” method lets you enjoy an early taste of your harvest.
Mature Potatoes: For a full harvest of larger, storage-ready potatoes, wait until the plant’s foliage begins to yellow, wither, and die back, typically 2-3 weeks after the plant has finished flowering. This signals that the plant has put all its energy into developing the tubers. At this point, stop watering for about a week to allow the soil to dry out slightly, which helps cure the potato skins and improves their storage quality.
To harvest, choose a dry, sunny day. Using a digging fork or shovel, carefully loosen the soil around the plant, starting about 6-12 inches away from the main stem to avoid spearing the tubers. Gently lift the entire plant, shaking off excess soil to reveal your bounty. Dig around in the loosened soil, as many potatoes will have detached from the main plant. Lay your harvested potatoes in a single layer in a shady, well-ventilated spot for a few hours to allow their skins to dry.
Curing for Storage: For long-term storage, potatoes need to be “cured.” After harvesting, brush off any loose soil (do not wash them!) and place them in a cool (45-60°F or 7-15°C), dark, humid area for 1-2 weeks. This curing process toughens their skins, heals minor cuts, and reduces moisture loss, significantly extending their shelf life. After curing, store them in a cool, dark, well-ventilated place (like a root cellar, basement, or garage) in breathable sacks or crates.
Pro tip: When harvesting, avoid leaving potatoes exposed to the sun for too long, as this can cause them to turn green and develop that bitter solanine. Harvest swiftly and move them to a shady spot for drying.
Common Mistakes to Avoid
1. Planting Store-Bought Potatoes: While tempting, grocery store potatoes are often treated with sprout inhibitors and may carry diseases that can infect your garden soil.
Why it’s problematic: Leads to poor yields, potential crop failure, and introduces pathogens to your garden.
Correct approach: Always use certified disease-free seed potatoes from a reputable garden supplier.
2. Not Hilling Your Plants: Forgetting to mound soil around the growing stems is a common oversight, especially for beginners.
Why it’s problematic: Exposed potatoes turn green and toxic due to sunlight exposure, making them inedible. It also reduces your overall yield.
Correct approach: Begin hilling when plants are 6-8 inches tall, repeating every few weeks until plants flower, ensuring all developing tubers remain covered.
3. Poor Drainage: Planting potatoes in heavy, waterlogged soil is a recipe for disaster.
Why it’s problematic: Leads to tuber rot, fungal diseases, and stunted plant growth.
Correct approach: Amend heavy soils with plenty of organic matter, use raised beds, or plant in containers with excellent drainage.
4. Insufficient Sunlight: Potatoes are sun-loving plants that need ample light to produce a good harvest.
Why it’s problematic: Low light results in weak, leggy plants and significantly reduced tuber formation.
Correct approach: Choose a planting site that receives at least 6-8 hours of direct sunlight daily.
5. Planting Too Early or Too Late: Timing is crucial for potato success.
Why it’s problematic: Planting too early risks frost damage to emerging shoots. Planting too late in hot climates can stress plants, leading to poor tuber set.
Correct approach: Plant after your last average frost date when soil temperatures are consistently above 45°F (7°C). In hot climates, consider early varieties to harvest before peak summer heat.
Troubleshooting
1. Yellowing Leaves:
Issue: Often a sign of nutrient deficiency (especially nitrogen), inconsistent watering, or sometimes disease.
Solution: Check soil moisture – water deeply if dry. If soil is moist, consider a balanced liquid feed. Ensure good drainage to rule out root rot. If spots or wilting accompany yellowing, investigate for specific diseases or pests.
2. Small or No Potatoes at Harvest:
Issue: Can be due to insufficient sunlight, poor soil fertility, lack of consistent watering during tuber development, or inadequate hilling.
Solution: For future crops, ensure 6-8 hours of sun, enrich soil with compost, maintain consistent moisture, and diligently hill plants as they grow.
3. Pest Infestations (e.g., Colorado Potato Beetles):
Issue: Beetles and their larvae can quickly defoliate plants, severely impacting yield.
Solution: For small gardens, hand-pick beetles and larvae, dropping them into a bucket of soapy water. Encourage beneficial insects like ladybugs. In severe cases, organic pesticides like neem oil or Bacillus thuringiensis (Bt) can be used, following label instructions.
Key Takeaways
Always use certified seed potatoes for a healthy, disease-free crop.
Chit your potatoes to encourage strong, early sprouts and potentially better yields.
Choose a sunny spot with well-draining, rich soil, amending with compost.
Hilling is critical to protect developing tubers from sunlight and increase your harvest.
Maintain consistent watering, especially during flowering and tuber formation.
Harvest new potatoes when plants flower or mature potatoes when foliage dies back.
* Cure mature potatoes in a cool, dark, humid place for optimal storage.
Frequently Asked Questions
Q: When is the best time to plant potatoes?
A: The ideal time is in early spring, 2-4 weeks after your average last frost date, when soil temperatures consistently reach 45°F (7°C) or higher. For specific timing, check your local USDA hardiness zone and gardening calendars.
Q: Can I grow potatoes in containers or small spaces?
A: Absolutely! Potatoes thrive in large containers (10-15 gallon grow bags, whiskey barrels, or large pots), making them perfect for backyard patios or small space gardening. Just ensure good drainage and consistent moisture.
Q: How do I know when to harvest my potatoes?
A: For “new potatoes,” you can gently dig around the plant when it begins to flower. For mature, storage-ready potatoes, wait until the plant’s foliage has completely yellowed, withered, and died back, typically 2-3 weeks after flowering ends.
Q: What are “seed potatoes”?
A: Seed potatoes are small, whole potatoes or pieces of potatoes specifically grown and certified to be disease-free for planting. They are different from grocery store potatoes, which may be treated with sprout inhibitors or carry diseases.
What’s Next?
Congratulations, future potato whisperer! You’re now equipped with the knowledge to embark on a truly rewarding gardening journey. Don’t let another season pass without experiencing the unparalleled joy of harvesting your own potatoes.
Why not expand your culinary garden? Consider planting other easy-to-grow root vegetables like carrots, radishes, or beets, or explore the delightful world of companion planting to enhance your garden’s health and beauty. Learn how to preserve your abundant potato harvest through canning, freezing, or simply proper storage, ensuring you can enjoy your homegrown bounty year-round. Take a moment to plan your garden, sketch out your raised beds, or choose that perfect Pinterest-worthy container for your patio. The earth is waiting for your touch! Start today, and soon you’ll be enjoying the freshest, most delicious potatoes you’ve ever tasted, straight from your own backyard oasis.