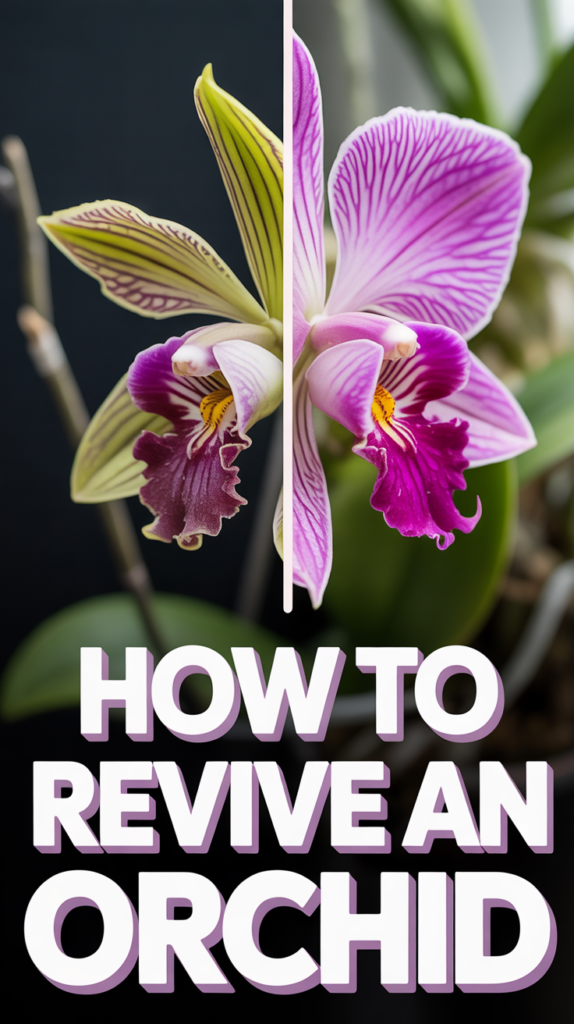
🌿 How To Revive An Orchid
There’s a unique heartache that comes with seeing a once vibrant orchid, its blossoms a testament to nature’s artistry, slowly fade into a shadow of its former glory. Perhaps it was a cherished gift, a living centerpiece that brought joy, and now its leaves are limp, its roots shriveled, and its flowers a distant memory. Don’t despair! This guide is your gentle invitation to reconnect with nature, to understand the subtle language of these exquisite plants, and to bring your beloved orchid back from the brink. Imagine the quiet satisfaction of watching new life unfurl, transforming a struggling plant into a breathtaking display once more, a living testament to your nurturing touch and the resilience of the natural world.
Quick Overview
In this guide, you’ll learn the secrets to diagnosing, treating, and nurturing your orchid back to health, transforming a forlorn plant into a thriving beauty. You’ll gain practical skills that extend beyond orchids, fostering a deeper connection with all your green companions.
Time needed: 1-2 hours for initial revival, then ongoing weekly care.
Difficulty: Beginner
What you’ll need: Sharp, sterilized pruners or scissors, new orchid potting mix, a clear orchid pot (or one with good drainage), fungicide (optional), rubbing alcohol, a spray bottle, and a gentle orchid fertilizer.
Step-by-Step Instructions
Step 1: Embrace the Diagnosis – Understanding Your Orchid’s Plea
Before you can begin the journey of revival, you must first understand what your orchid is trying to tell you. Think of yourself as a detective, observing every subtle clue. A struggling orchid often presents with a few tell-tale signs: limp, yellowing, or shriveled leaves; roots that are brown, mushy, or completely dry and brittle; and a complete absence of blooms, or even flower spikes. Healthy orchid leaves are firm, green, and often slightly leathery to the touch. Healthy roots, especially for epiphytic orchids like Phalaenopsis, are plump, silvery-green when dry, and bright green when wet. Look closely at the potting medium too – is it broken down, soggy, or filled with visible mold?
Pro tip: Take a photo of your orchid before you start. This visual diary will be incredibly rewarding when you look back and see how far it has come!
Step 2: Gather Your Tools – Preparing for a Gentle Intervention
Just like a chef prepares their mise en place, a successful plant revival begins with gathering the right tools. You’ll need a pair of sharp, clean pruners or scissors. Sterilize them with rubbing alcohol or a flame to prevent the spread of any potential diseases. Next, select a new orchid pot. Clear plastic pots are excellent as they allow you to monitor root health and moisture levels, but any pot with ample drainage holes will suffice. Choose an orchid-specific potting mix, typically composed of bark, sphagnum moss, perlite, or charcoal. This specialized mix provides the aeration and drainage orchids crave, mimicking their natural habitat. Have some rubbing alcohol ready for sterilization, a spray bottle for gentle hydration, and a balanced orchid fertilizer for future nourishment.
Pro tip: Consider a slightly larger pot only if the root system truly demands it. Orchids prefer to be a little snug, often thriving when their roots fill the pot.
Step 3: The Gentle Unpotting – Revealing the Hidden Story
This step is where the real detective work begins. Carefully remove your orchid from its current pot. You might need to gently squeeze the sides of a plastic pot or carefully pry it if it’s terracotta. Once unpotted, gently shake off as much of the old potting medium as possible. Be patient and deliberate, as the roots can be quite intertwined. This process allows you to get a full view of the root system, which is crucial for diagnosis. As you uncover the roots, take a moment to appreciate their intricate network, even if they currently look less than ideal. This is the lifeblood of your orchid, and understanding its condition is paramount to its recovery.
Pro tip: If the roots are stubborn and clinging to the pot, soaking the entire root ball in lukewarm water for 15-20 minutes can make them more pliable and easier to separate from the old medium.
Step 4: Prune with Purpose – Releasing the Old to Welcome the New
Now comes the crucial task of pruning. With your sterilized pruners, carefully trim away any roots that are clearly dead or diseased. Healthy roots are firm and often plump, ranging from silvery-white to green. Dead roots, on the other hand, will be brown, black, mushy, papery, or hollow when squeezed. Don’t be afraid to be decisive here; removing compromised roots is essential to prevent further decay and allow the plant to focus its energy on new, healthy growth. If any leaves are entirely yellow, brown, or mushy, you can also carefully remove those, especially if they are at the base of the plant. This step revitalizes the plant by removing energy drains.
Pro tip: If you’re unsure about a root, gently scratch it with your fingernail. If it’s firm and green underneath, it’s likely healthy. If it’s brown or collapses, remove it.
Step 5: A Fresh Start – Repotting with Care
With the deadwood cleared, it’s time to give your orchid a fresh start in its new home. Place a small amount of fresh orchid potting mix at the bottom of the clean pot. Gently center your orchid in the pot, spreading its remaining healthy roots as evenly as possible. Then, carefully fill the pot with the new potting medium, working it around the roots. Avoid compacting the mix too tightly; orchids need air circulation around their roots. The base of the plant (the crown) should sit just at or slightly above the level of the potting mix. This prevents water from collecting around the crown, which can lead to crown rot – a common killer of orchids. Ensure the plant feels stable in its new environment.
Pro tip: After repotting, gently tap the sides of the pot to help the mix settle around the roots without crushing them. You can also use a chopstick to gently guide the mix into any air pockets.
Step 6: The First Drink – Nurturing New Beginnings
After the stress of repotting, your orchid needs a gentle drink. Water it thoroughly, allowing water to drain completely from the bottom of the pot. Many orchid enthusiasts recommend watering by soaking the pot in a basin of lukewarm water for 10-15 minutes, allowing the roots and media to fully absorb moisture, then letting it drain completely. This initial watering helps settle the new mix and rehydrates the roots. For the first few weeks after repotting, avoid fertilizing. Your orchid needs time to recover and establish itself. Think of it as a convalescent period, where gentle care is paramount. Place your freshly repotted orchid in a spot with bright, indirect light, away from direct sun that could scorch its recovering leaves.
Pro tip: Consider using distilled water, rainwater, or filtered water for your orchid. They are sensitive to salts and chemicals often found in tap water.
Step 7: The Art of Placement – Light, Humidity, and Airflow
Orchids thrive in environments that mimic their natural tropical homes. Bright, indirect light is crucial. A north or east-facing window is often ideal. If you only have south or west-facing windows, use sheer curtains to diffuse the intense light. Humidity is another key factor. While many homes are dry, orchids prefer 50-70% humidity. You can achieve this by placing your orchid on a humidity tray (a shallow tray filled with pebbles and water, ensuring the pot sits above the water level), grouping it with other plants, or using a room humidifier. Good air circulation is also vital to prevent fungal issues. Avoid placing your orchid in stagnant corners; a gentle breeze is always welcome. For those creating a beautiful outdoor space, consider how your indoor orchid display connects to the natural world just outside your window – perhaps a vibrant container garden on a nearby patio or a lush flower bed.
Pro tip: If you live in a very dry climate (like many USDA zones experience in winter), misting the leaves lightly in the morning can help, but avoid getting water into the crown of the plant.
Step 8: Sustained Care – The Rhythm of Revival
Reviving an orchid isn’t a one-time event; it’s a commitment to consistent, gentle care. Water your orchid when the potting mix is nearly dry. For bark mixes, this might be every 7-10 days; for sphagnum moss, it could be every 10-14 days. Feel the weight of the pot – a lighter pot indicates dryness. Once new growth appears (new leaves or roots), you can begin fertilizing with a balanced orchid-specific fertilizer at a quarter to half strength, typically every 2-4 weeks during active growth. Remember, orchids are not heavy feeders. Patience is your greatest virtue. It can take months for a struggling orchid to show significant signs of recovery, but the reward of a new leaf unfurling or a fresh root emerging is truly priceless.
Pro tip: Mark your calendar for watering and fertilizing to establish a routine. Consistency is more important than precision.
Step 9: Beyond the Orchid – Expanding Your Green Thumb
As your orchid begins to thrive, you might find yourself inspired to explore other gardening avenues. The principles of observation, proper watering, and understanding light requirements are universal. Consider creating a small space garden on your backyard patio with vibrant container gardening, perhaps a mix of annuals and perennials that thrive in your USDA zone. Or, for a truly Pinterest-worthy garden idea, design a stunning flower bed that bursts with seasonal color, offering a beautiful backdrop to your indoor orchid display. Even a simple vegetable garden can bring immense joy, connecting you further to the cycles of nature. The satisfaction of nurturing life, whether a delicate orchid or a robust tomato plant, enriches your home and soul.
Pro tip: Document your gardening journey with photos and notes. Seeing your progress, from a struggling orchid to a flourishing backyard, is incredibly motivating and educational.
Common Mistakes to Avoid
Even with the best intentions, beginners can sometimes make missteps. Here are a few common pitfalls to steer clear of:
- Overwatering: This is the number one killer of orchids. Soggy roots lead to rot, which is often mistaken for dehydration. Always allow the potting mix to dry out almost completely between waterings. When in doubt, wait one more day.
- Using the Wrong Potting Mix: Regular potting soil is far too dense for most orchids and will suffocate their roots. Always use a specialized orchid mix that provides excellent drainage and aeration.
- Neglecting Root Inspection: Many problems start at the root level. Failing to regularly check the health of your orchid’s roots means issues can fester unseen until it’s too late. Make root health a priority.
- Too Much Direct Sun: While orchids need bright light, direct, intense sunlight can scorch their leaves, leaving unsightly brown or black spots. Always opt for bright, indirect light.
- Excessive Fertilizing: More isn’t always better when it comes to fertilizer. Over-fertilizing can burn an orchid’s sensitive roots. Stick to diluted solutions and fertilize only during active growth.
Troubleshooting
- Orchid still not blooming: Ensure it’s getting enough bright, indirect light. Many orchids also need a slight temperature drop at night (5-10 degrees Fahrenheit cooler than daytime) to initiate blooming. Consistent fertilization during the growing season is also important.
- Leaves turning yellow: This can be due to overwatering (leading to root rot), underwatering (leaves shrivel instead of yellowing and becoming mushy), too much direct sun, or sometimes just old leaves naturally dying off. Assess your watering habits and light exposure.
- Pests (e.g., mealybugs, scale): Isolate the plant immediately. For small infestations, dab pests with a cotton swab dipped in rubbing alcohol. For larger issues, use an insecticidal soap or neem oil specifically formulated for plants, following instructions carefully.
Key Takeaways
- Identify root and leaf health as your primary diagnostic tools.
- Always use sterilized tools and specialized orchid potting mix.
- Prune dead roots decisively to encourage new growth.
- Provide bright, indirect light and consistent humidity.
- Water thoroughly when almost dry, avoiding overwatering.
- Patience and observation are crucial for successful revival.
Frequently Asked Questions
Q: How long does it take for an orchid to recover?
A: Recovery time varies greatly depending on the orchid’s initial condition. It can take anywhere from a few months to over a year to see significant new growth and, eventually, reblooming. Patience is key!
Q: Can I use regular potting soil for my orchid?
A: No, absolutely not. Regular potting soil retains too much moisture and will suffocate an orchid’s roots, leading to rot. Always use a specialized orchid potting mix composed of bark, sphagnum moss, or other coarse materials.
Q: My orchid’s roots are growing outside the pot. Is this normal?
A: Yes, this is completely normal for many epiphytic orchids! These are called aerial roots, and they absorb moisture and nutrients from the air in their natural habitat. Do not cut them unless they are clearly shriveled and dead.
Q: How often should I fertilize my orchid?
A: During active growth (when new leaves or roots are forming), fertilize every 2-4 weeks with a balanced orchid-specific fertilizer diluted to quarter or half strength. Reduce or stop fertilizing during dormancy or if the plant is stressed.
What’s Next?
Congratulations on taking the first step to reviving your orchid! As you nurture this beautiful plant back to health, you’ll discover a deeper connection to the rhythm of nature. Don’t stop there! Consider how your thriving orchid can inspire other green adventures. Perhaps you’ll create a stunning flower bed in your garden, experimenting with seasonal planting and vibrant colors that complement your home. Or maybe you’ll design a peaceful backyard patio, perfect for container gardening with a mix of herbs and flowering plants that thrive in your USDA zone. From small space gardening on a balcony to a bountiful vegetable garden, the principles you’ve learned with your orchid will serve you well. Embrace the joy of growing, and let your green thumb lead the way to a more beautiful, vibrant home and garden. Take action today, and plant the seeds for your next gardening success!